The Articles Archive
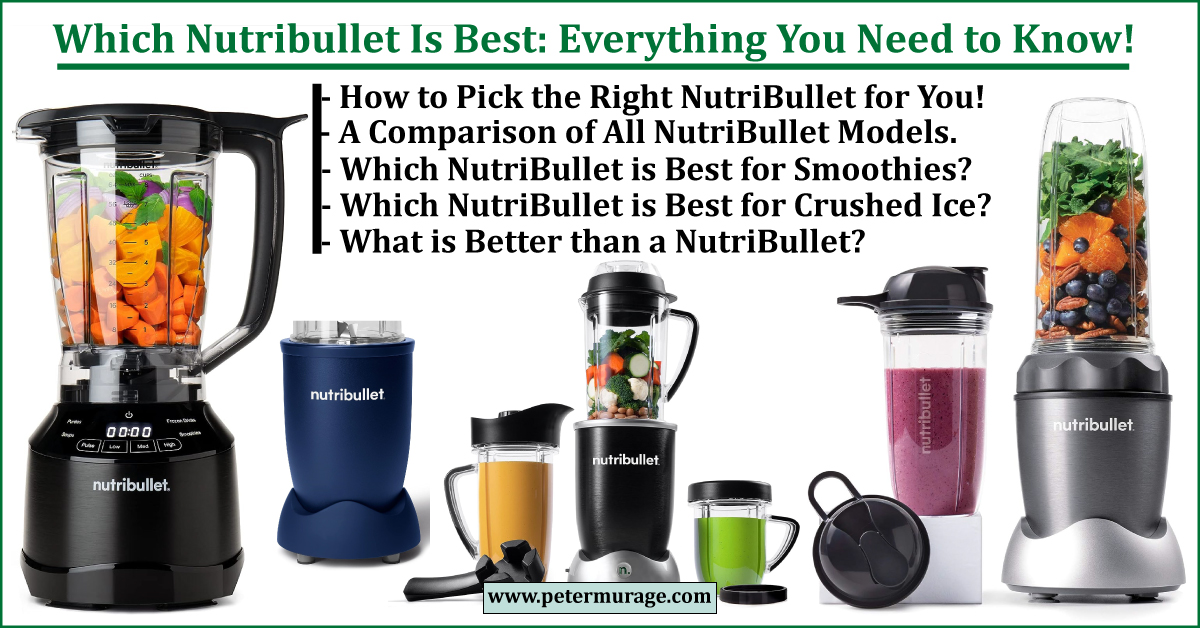
Which Nutribullet Is Best? + Best Deals to Buy In 2024
NutriBullet is arguably the best personal blender brand in the world! You may have probably discovered this and are now wondering which NutriBullet is best for you. You’re in the right place! In this comprehensive, easy-to-read guide, I’ve shared everything you need to know to buy the right NutriBullet for you in 2024! This is … Read more
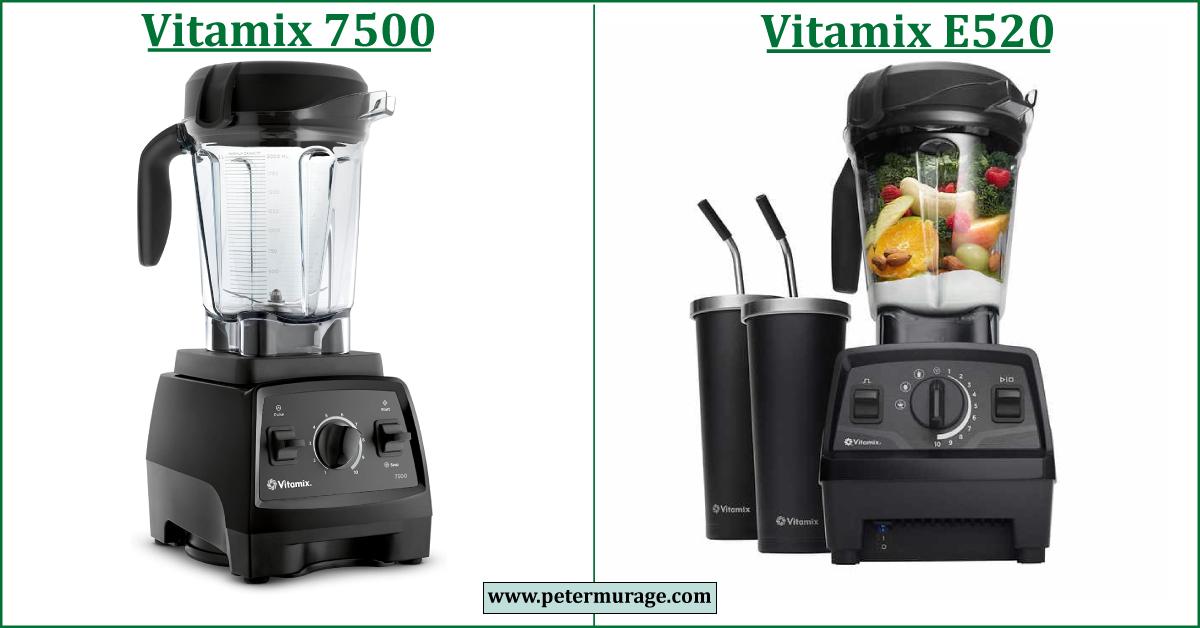
Vitamix E520 vs 7500: Comparison + Best Deals in 2024
Vitamix E520 and 7500 fall within the same price range despite coming from two different Vitamix blender platforms with different features and specs! The Vitamix 7500 came out in 2011 and belongs to the Next-Generation platform or Classic G-Series, together with the premium-built Vitamix Professional 750. Vitamix E520, on the other hand, came out in … Read more
Why this is the Best Used Thinkpad Laptop to Buy in 2024!
You’re looking for the best used ThinkPad because you already know ThinkPads are extremely reliable and powerful laptops sold at highly discounted deals! Lenovo designs the ThinkPad Series laptops for professionals and businesses who need consistent performance, top-notch durability, comfort, and portability. But buying a refurbished or used laptop can be really overwhelming! There is … Read more
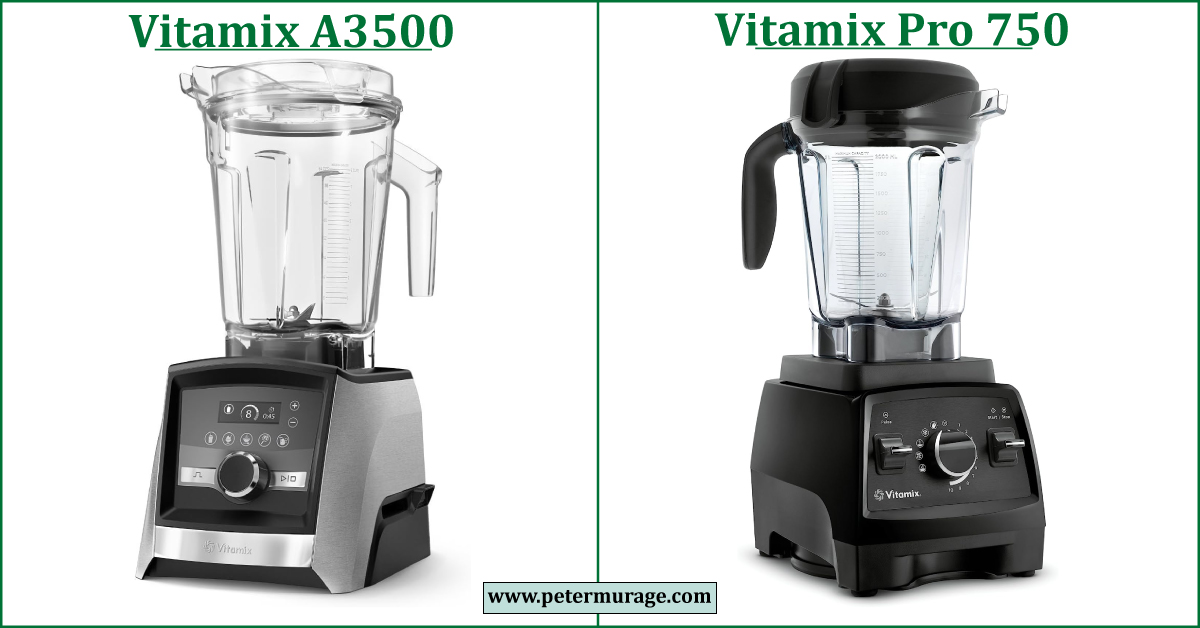
Vitamix A3500 vs 750: Comparison + Best Deals in 2024
The Ascent Series A3500 and Professional Series 750 are high-end Vitamix blenders with premium, durable build quality for high-performance blending! Both have a powerful 2.2-HP motor, a metallic drive socket, and a 64-oz low-profile container with 4-inch stainless steel cutting and pulverizing blades. Despite belonging to different Vitamix product lines with different control settings and … Read more
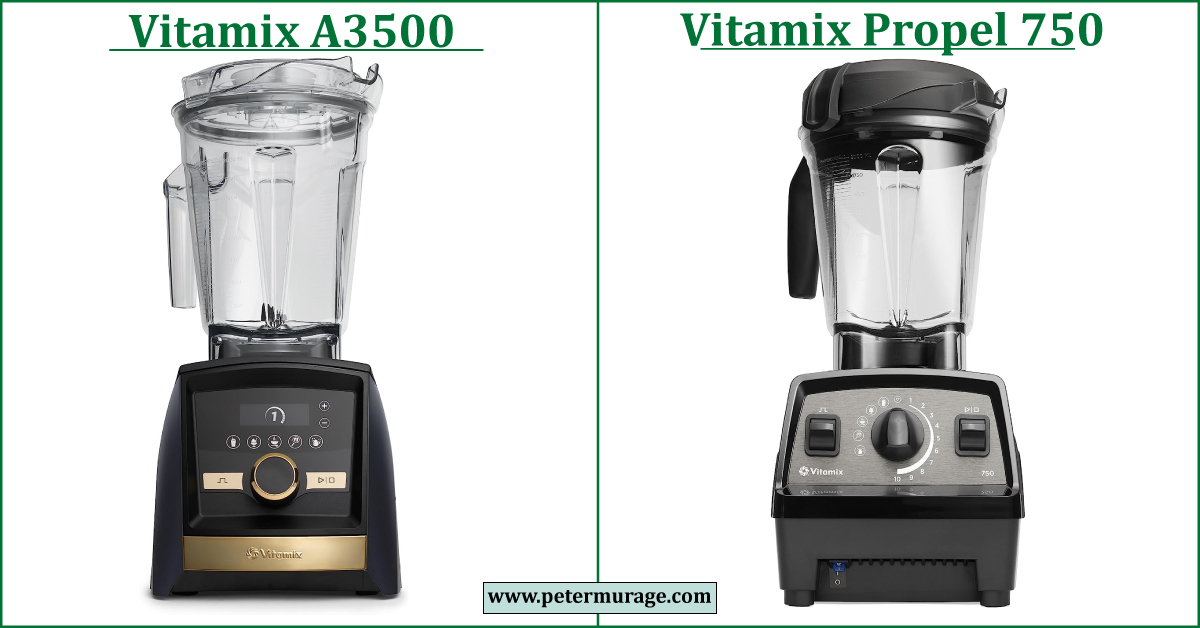
Vitamix A3500 vs Propel 750: Comparison + Best Deals 2024
Vitamix recently launched a new high-end blender platform, the Propel Series, with two new blender models, the Vitamix Propel 510 and the Propel 750. The Vitamix Propel 750 is nearly identical to the iconic Vitamix Professional 750 that has reigned as the best high-end Vitamix blender since 2011. They have similar build quality, controls, and … Read more
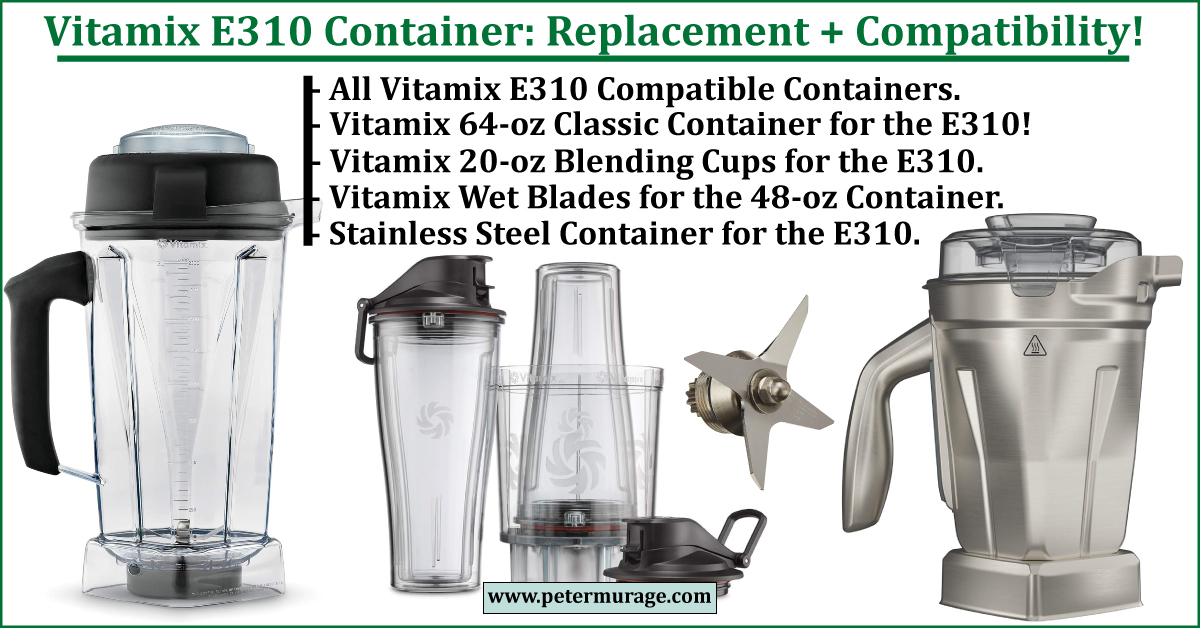
Vitamix E310 Container Replacement + Compatibility 2024
The Vitamix Explorian Series E310 and E320 have a basic build quality with simple controls, which explains their budget-friendly pricing! Yet, their blending performance is exceptional! They have powerful motors, metal drive sockets, and high-quality stainless steel blades. The Vitamix E310 comes with a 48-oz container that suits making single-serve recipes to mid-sized batches for … Read more
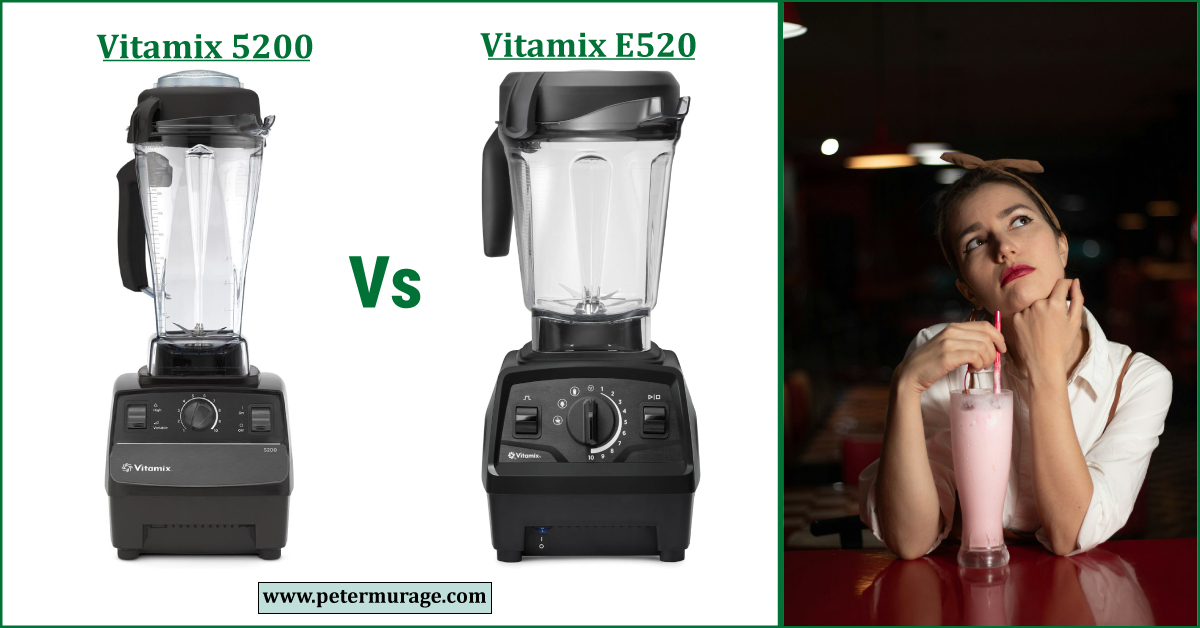
Vitamix E520 vs 5200: Comparison & Best Deals in 2024
The 5200 is the most popular Vitamix blender model of all time! It’s the blender you’ll likely find in most American household kitchen counters, restaurants, bars, and cafes! It won most people’s hearts, including chefs, for its iconic classic design with a powerful 2-horsepower motor, an easy-to-use variable 10-Speed control knob, and the large 64-oz … Read more
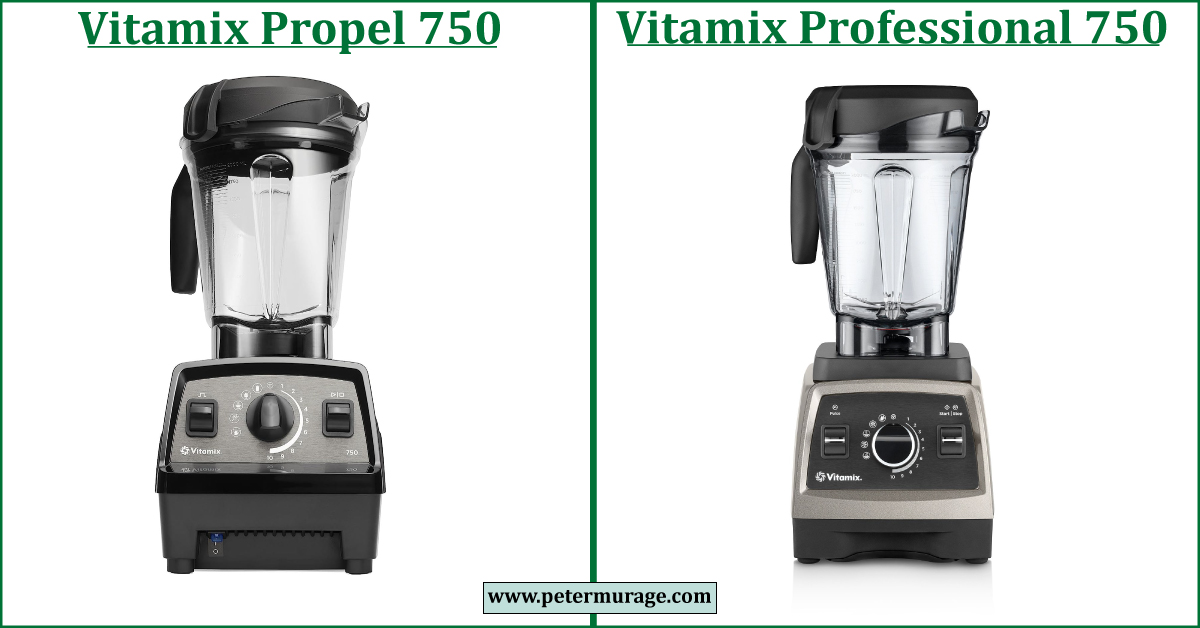
Vitamix Propel 750 vs Professional 750 + Best Deals 2024
The appearance of the Vitamix Propel Series 750 looks like Vitamix’s subtle move to replace the iconic Vitamix Professional Series 750 entirely! Both have the same premium build quality and features, including a powerful 2.2-HP motor, five blending programs, and a 64-oz low-profile container! Propel 750’s exterior resembles a refreshed version of the sleek-looking Professional … Read more
Vitamix Propel 510 Review & Best Deals 2023
Vitamix released two new Propel Series blenders, the Propel 510 and 750, offering the iconic Vitamix performance and convenient blending programs. Propel 510 is an exceptional choice for a home with one or two people. It has three blending programs for Smoothies, Frozen Desserts, and Hot Soups. It features a powerful 2-HP motor, a 48-oz … Read more
Vitamix V1200 Review + Best Deals in 2024
Vitamix designed the Venturist V1200 as a Costco-exclusive model! But it’s now available on Amazon as a Renewed Premium blender for $449.95! Yet, despite being a certified reconditioned product, it has a whopping 5-year full warranty that covers the parts, performance, labor, and two-way shipping! V1200 has wireless SELF-DETECT technology and Bluetooth connectivity to pair … Read more
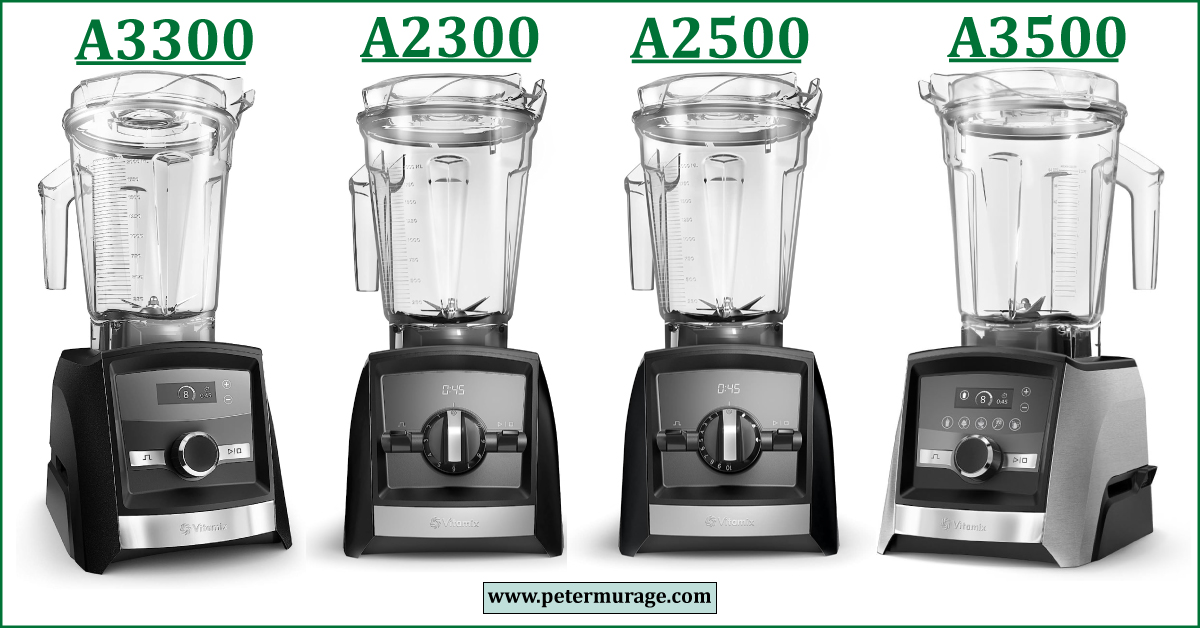
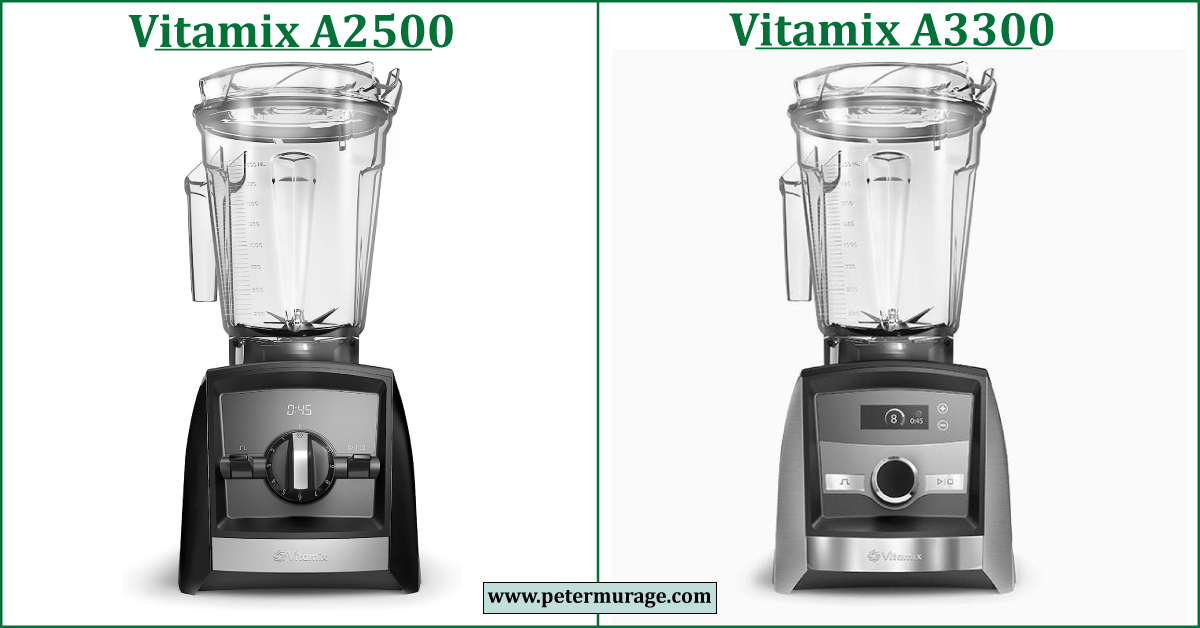
Vitamix A3300 Review: Everything You Need to Know in 2024
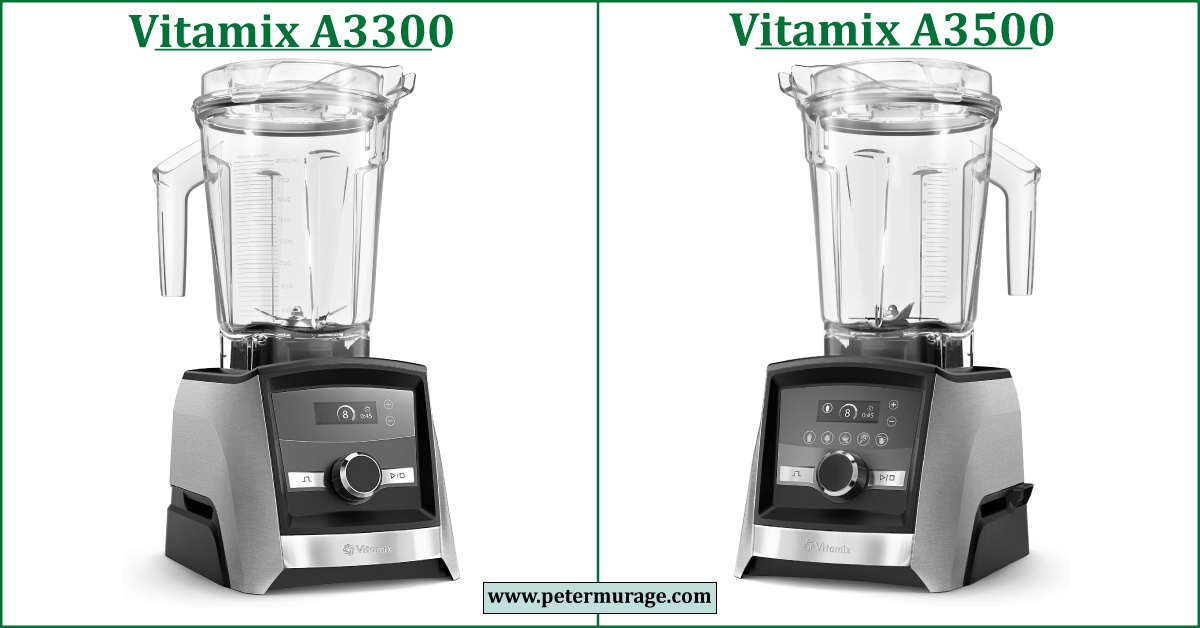
The Vitamix A3300 is built like the Ascent A3500, which I rate as the overall best Vitamix blender as of 2024, but without the five preset programs. They both have a sleek design, touchscreen control panel, programable timer, pulse switch, and a premium digital variable speed control dial. Yet, for lack of the preset programs, … Read more
Vitamix A2500 Review: Everything You Need to Know in 2024
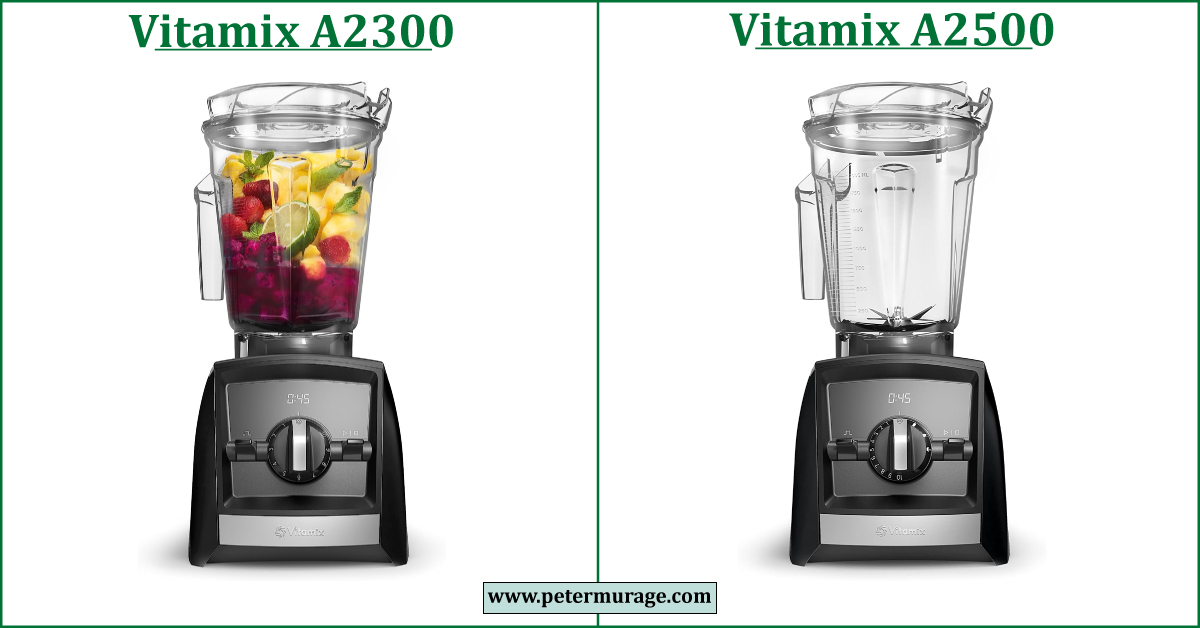
The Vitamix A2500 costs $50 more than the inexpensive A2300 due to its three program settings for Smoothies, Hot Soups, and Frozen Desserts. A2300 lacks these preset programs. Yet, they both offer professional-grade blending performance and are exceptionally built for durability. I highly recommend getting the A2500 over the Vitamix 750 if you want easy-to-use … Read more
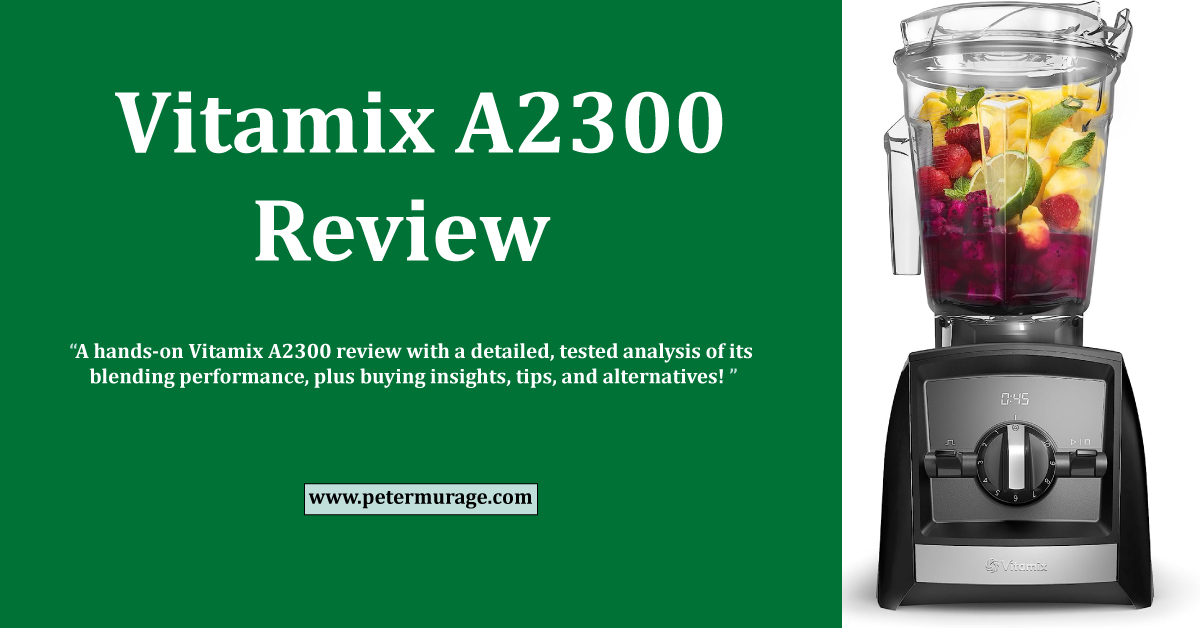
Vitamix A2300 Review: Everything You Need to Know in 2024
The Vitamix A2300 is the most affordable Ascent Series model. It falls within the same price range as the all-time best-selling Vitamix 5200. I highly recommend getting the A2300 over the 5200, E520, and 7500 if you want an easy-to-use Vitamix that is future-proofed and super-versatile! The A2300 features a digital timer, a premium 10-Speed … Read more
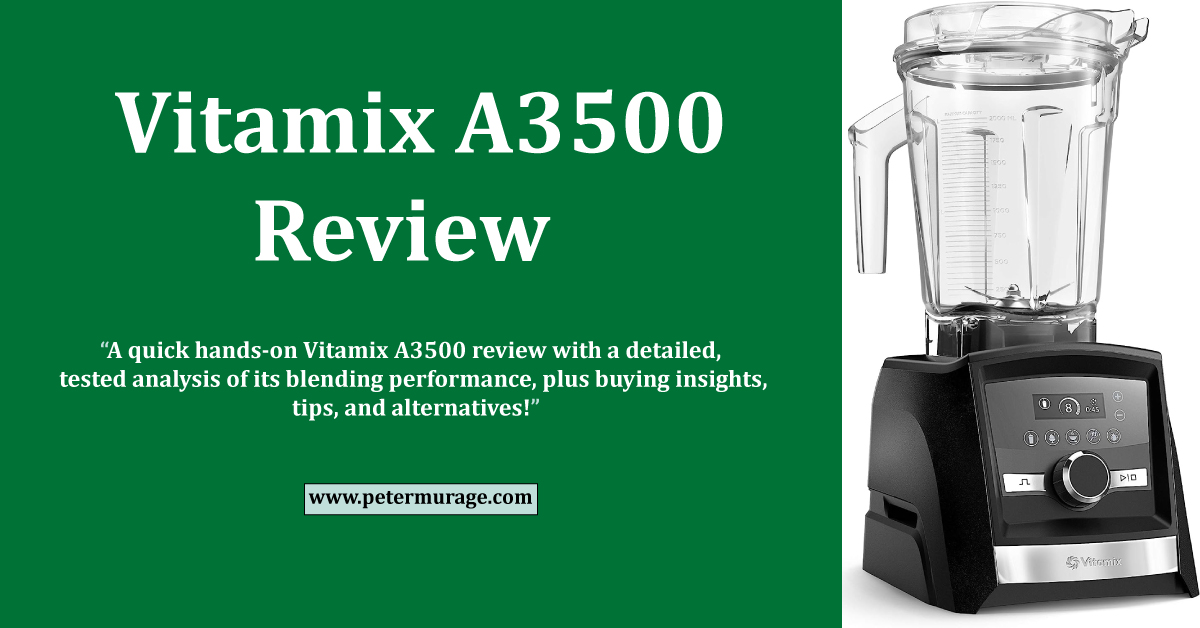
Vitamix A3500 Review: Everything You Need to Know in 2024
The Vitamix A3500 is a professional-grade blender with a sleek design, exceptional blending performance, and durable build quality. I highly recommend getting this blender if you’re shopping for a new Vitamix and money isn’t an object. It makes the best smoothies and hot soups! Its only rival in the household, professional-grade blenders category is the … Read more
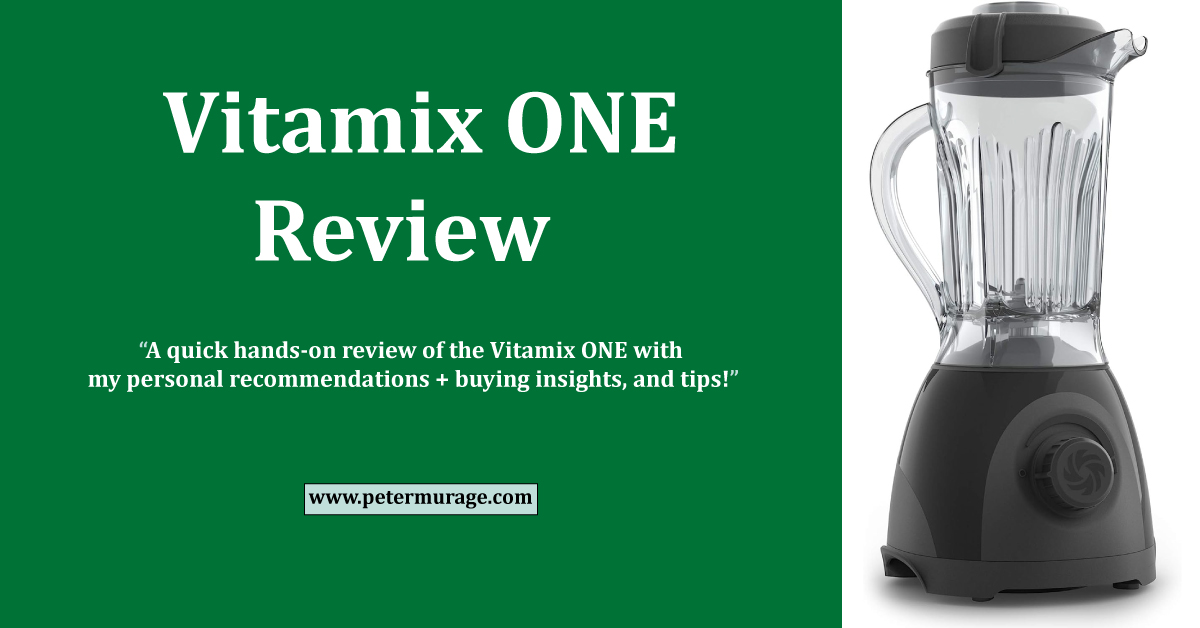
Vitamix ONE Review: Everything You Need to Know in 2024
The Vitamix ONE is Vitamix’s least expensive blender. It has a 32-oz container and a simple speed dial that doubles as the On/Off switch! It quickly blends whole foods to make amazing fresh and frozen smoothies, nut milk, cocktails, frozen desserts, baby food, dressings, dips, and spreads. But its blade design doesn’t allow it to … Read more
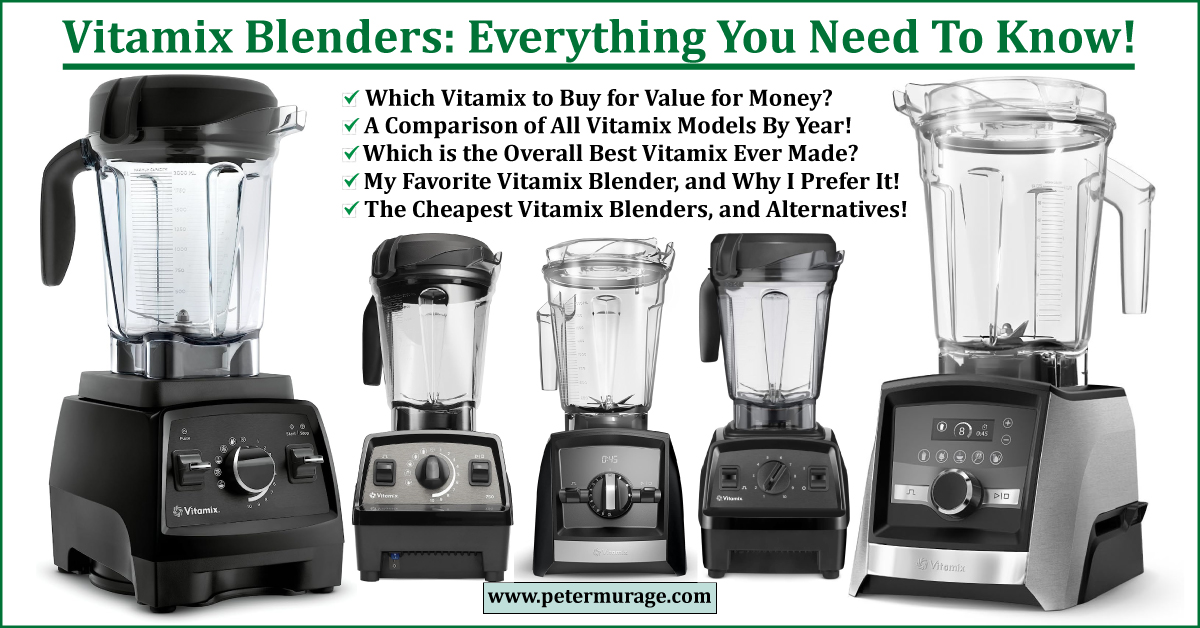
Which Vitamix to Buy: Comparison + Best Deals in 2024
Vitamix is arguably the best kitchen blender brand in the world. All its blender models are powerful, versatile, and highly durable! It’s why the affordable Vitamix 5200 reigns as the world’s all-time best-selling blender! It’s time-tested to maintain its exceptional performance for over ten years, even with daily use! Yet, the sleek-looking Vitamix A3500 with … Read more
Vitamix Ascent Series Comparison + Best Deals in 2024
Ascent Series is Vitamix’s high-end blender platform, featuring four Vitamix models, the top-of-the-line A3500, A3300, A2300, and my favorite Vitamix A2500! All Vitamix Ascent Series blenders have a powerful 2.2-HP motor, a digital timer, wireless SELF-DETECT technology, and Bluetooth connectivity. The digital features are why they are also known as the Smart System blenders. All … Read more

Vitamix E320 Review + Best Deals in 2024
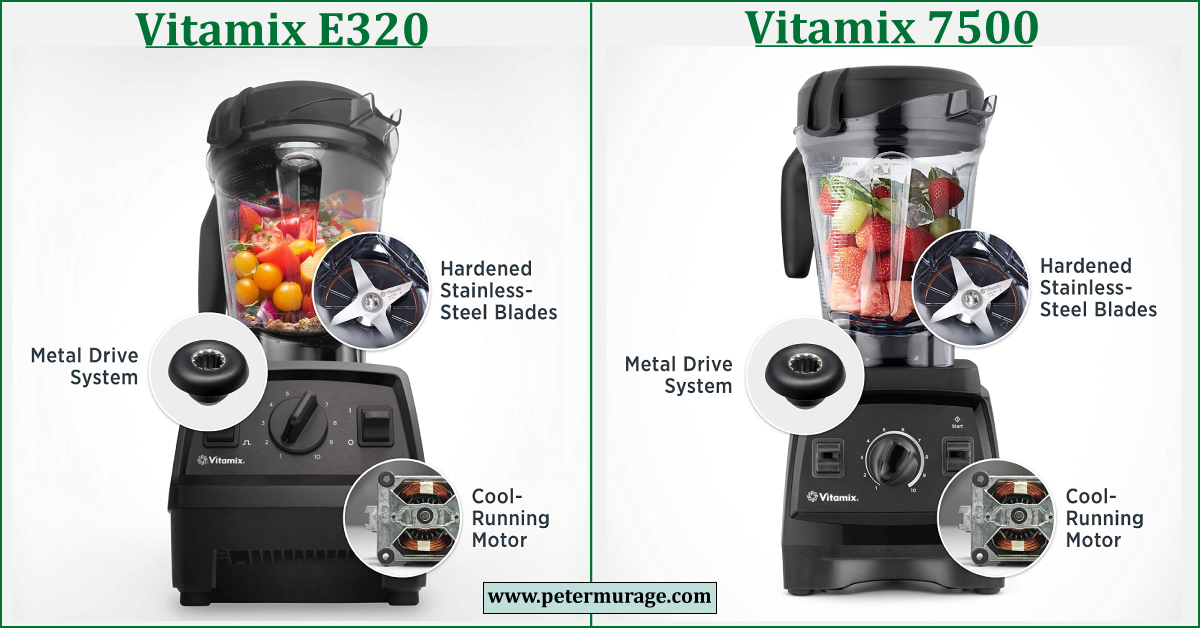
The Vitamix E320 belongs to the Explorian Series platform. It has a powerful 2.2 HP motor, easy-to-use controls, and a large 64-oz low-profile container. Other Vitamix models in the Explorian Series category include the affordable Vitamix E310, which has a 48-oz container, and the Vitamix E520, which has preset programs. All three Explorian Series models … Read more
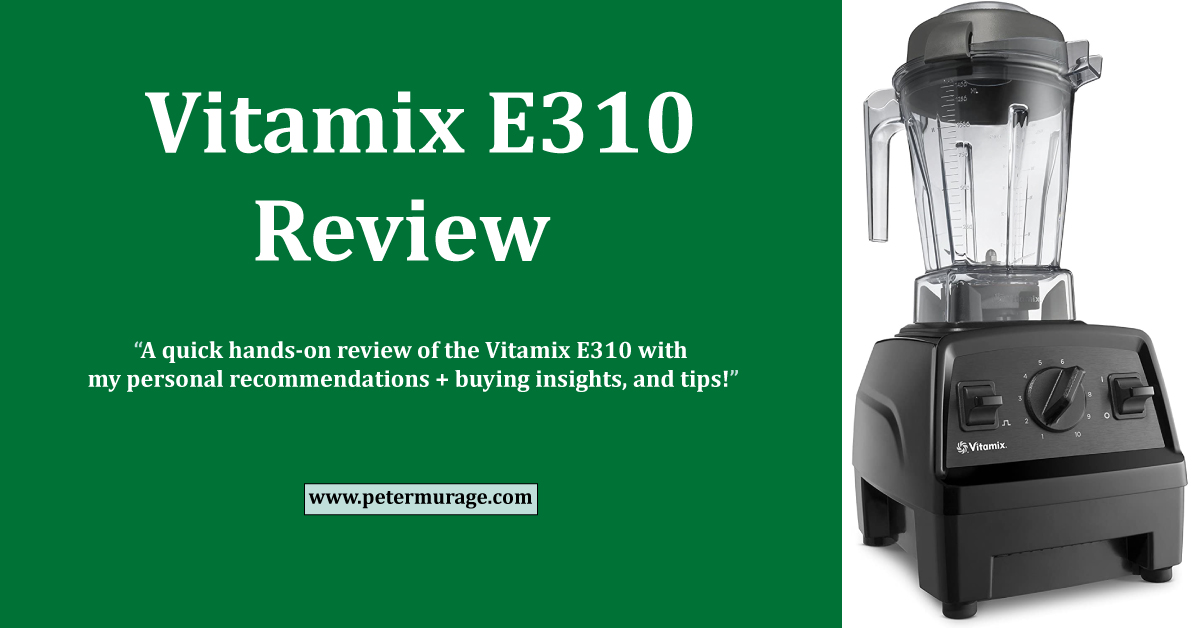
Vitamix E310 Review + Best Deals in 2024
The Vitamix E310 belongs to the Explorian Series platform, in addition to the affordable Vitamix E320 and the newly released Costco model, Vitamix E520. The Explorian Series features budget-friendly Vitamix models. Yet, they still provide professional-grade blending performance. The E310 features a high-performance 2-horsepower motor. It can blend, chop, pulverize, emulsify, and grind the toughest … Read more
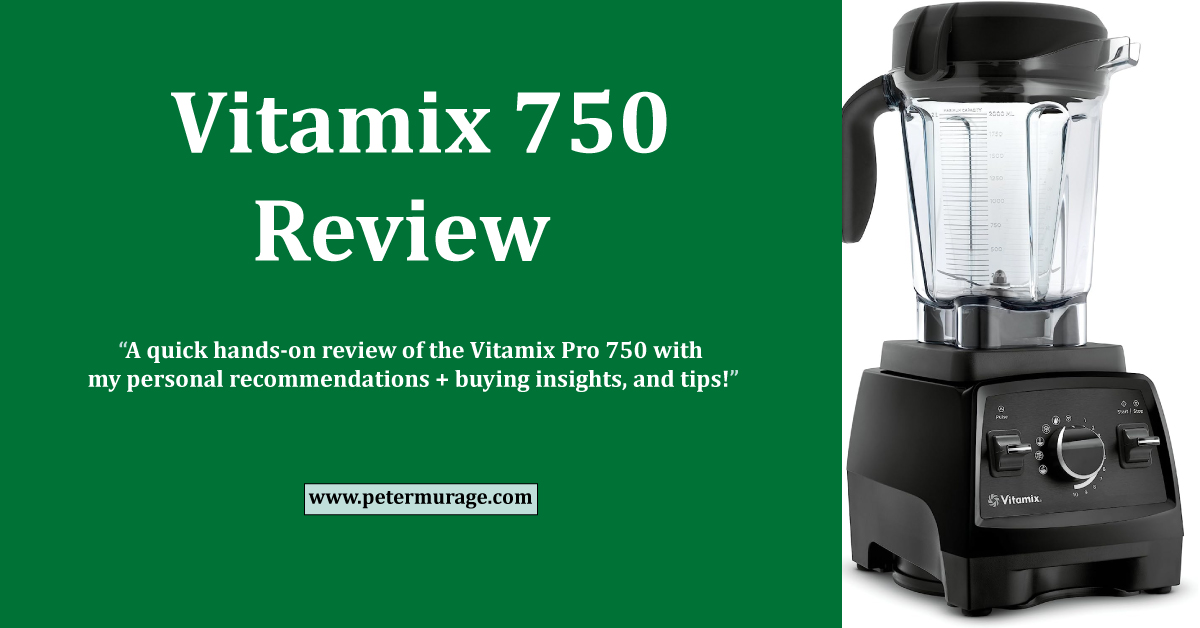
Vitamix 750 Review + Best Deals in 2024
The Vitamix 750 features a powerful 2.2 horsepower motor, and simple variable speed control dial for controlling 5 Preset programs and 10-speed settings. The preset programs include Smoothies, Hot Soups, Frozen Desserts, Purées, and Self-Cleaning, providing walk-away blending convenience. It has a Pulse Switch for precision control over the blending process. The 750 comes with … Read more
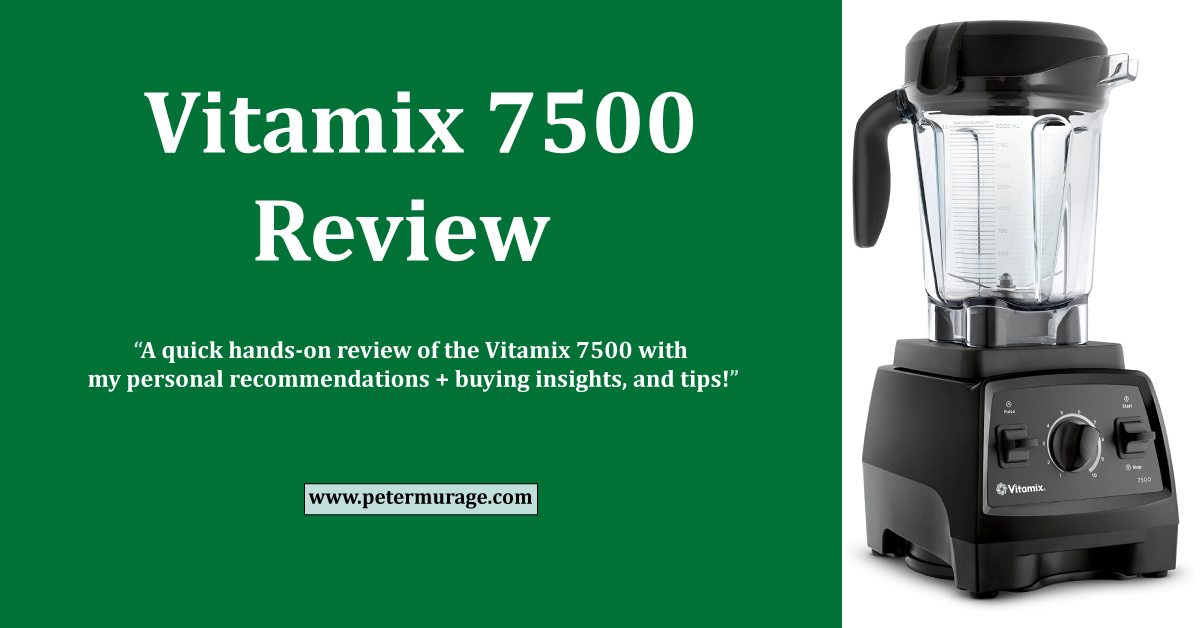
Vitamix 7500 Review + Best Deals in 2024
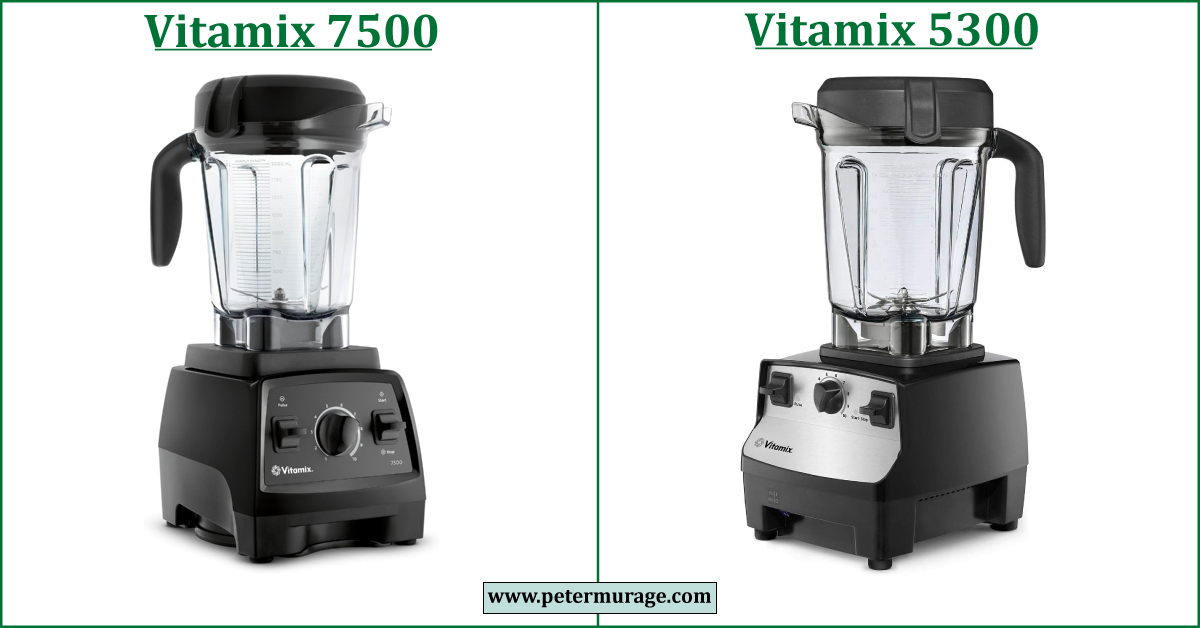
The Vitamix 7500 is the perfect alternative to the best-selling Vitamix 5200 and the uncomfortably loud Vitamix 5300. The 7500 features a professional-grade 2.2 horsepower motor that is powerful enough to blend all types of ingredients that you can put in a blender. It comes with a large 64-oz low-profile container that’s short and wide. … Read more
Vitamix 5300 Review + Best Deals in 2024
The Vitamix 5300 is one of the two best Vitamix 5200 alternatives; the other is the Vitamix 7500 – the best among the three! The 5300 features a 2.2-HP motor – powerful enough to blend any ingredient to consistency. It comes with a large 64-oz low-profile container. Is the Vitamix 5300 Worth it in 2024? … Read more
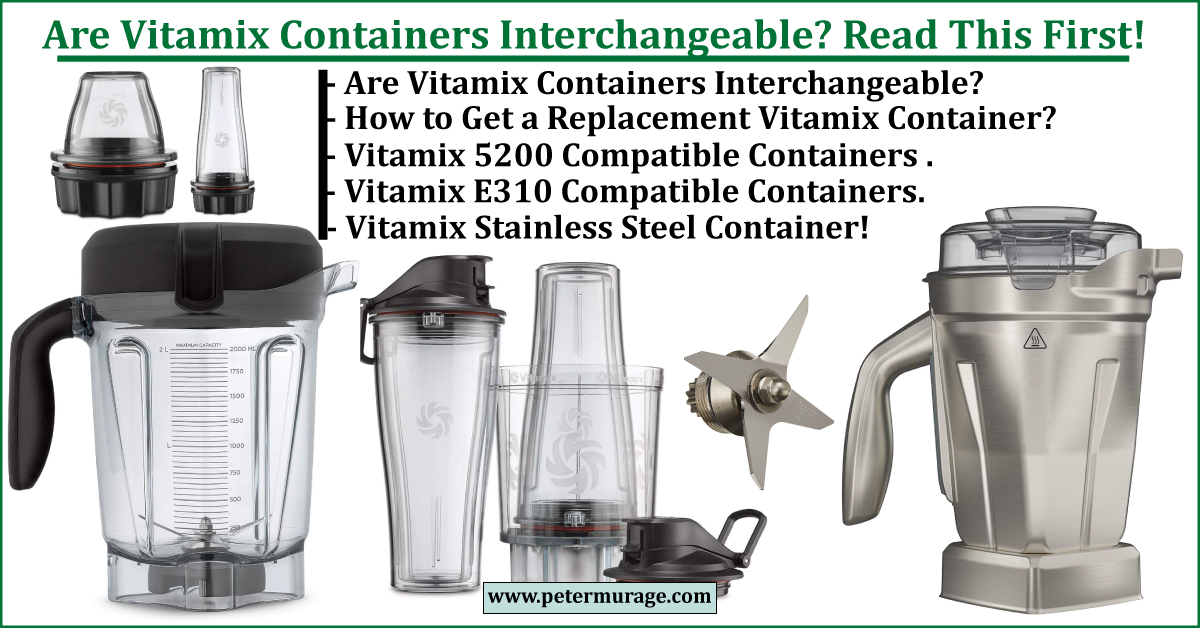
Are Vitamix Containers Interchangeable? Read This 2024
I recently updated this one-stop comprehensive guide on Vitamix container compatibility and replacement chart for 2024. You should probably check it! I noted some frequently asked questions, including whether all Vitamix containers are interchangeable and the right Vitamix 5200 and E310 compatible containers. Are Vitamix Containers Interchangeable? The simple answer is NO. Vitamix containers are … Read more

Vitamix Propel 750 Review + Best Deals 2024
Vitamix released two new Propel Series blenders, the Propel 750 and 510, offering the iconic Vitamix performance and convenient blending programs. Of the two, the Propel 750 is the best for its five program settings for Smoothies, Hot Soup, Frozen Desserts, Dips & Spreads, and Self-Cleaning. It also features a slightly powerful 2.2-HP motor, a … Read more
Vitamix 5200 Review: Everything You Need to Know in 2024
The Vitamix 5200 is arguably the world’s best-selling blender! If you walk into any American home with a Vitamix, it’s likely to be the mighty 5200. The 5200 was first introduced by Vitamix in October 2007 as a replacement for the flagship Vitamix 5000. It’s a super easy-to-use, multi-purpose blender with a large 64-oz container. … Read more

10 Best Refurbished Laptops Under $100 in 2024
I purchased a refurbished Lenovo ThinkPad X1 Carbon with Intel Core i5, 8GB RAM, and 256GB SSD in 2019 for only $425, and it’s the best laptop I’ve ever owned. Refurbished laptops are an excellent way to enjoy a high-end laptop’s features on a budget. They are usually affordable, yet they look and work like … Read more

10 Best Noise Canceling Headphones in 2024 [Handpicked]
A pair of the best noise-canceling headphones are a must-have accessory for a freelancer, blogger, or content creator working from home or as a digital nomad. They create the ultimate peace and quiet you need to focus on your work or enjoy your quietude by blocking the background noise distractions from the world around you. … Read more
Zaap Review: Everything You Need To Know in 2024
Zaap, formerly Znaplink, is an all-in-one creator toolkit that allows you to build a one-page website with multiple links and sell digital products. It features an intuitive user interface with an easy-to-use drag-and-drop builder that lets you create a gorgeous landing page for all your links! You can also collect emails, build an email list, … Read more

Hypage Review: Everything You Need To Know in 2024
Hypage is a unique link-in-bio tool that helps creators make money by selling digital products, exclusive content, memberships, and donations. It features a drag-and-drop builder that lets you create professional-looking websites and connect a custom domain for branding! It combines the excellent features of Linktree, Gumroad, Patreon, MailChimp, Ko-fi, and Buy Me a Coffee in … Read more

Tap Bio Review: Everything You Need To Know in 2024
Tap Bio is a link-in-bio tool that lets you create personalized, branded card pages with links, photos, and rich media to share in your bio link. It employs the same concept as Lnk.Bio and other Linktree alternatives, where you get one link to “house” all your other links. But instead of a landing page with … Read more
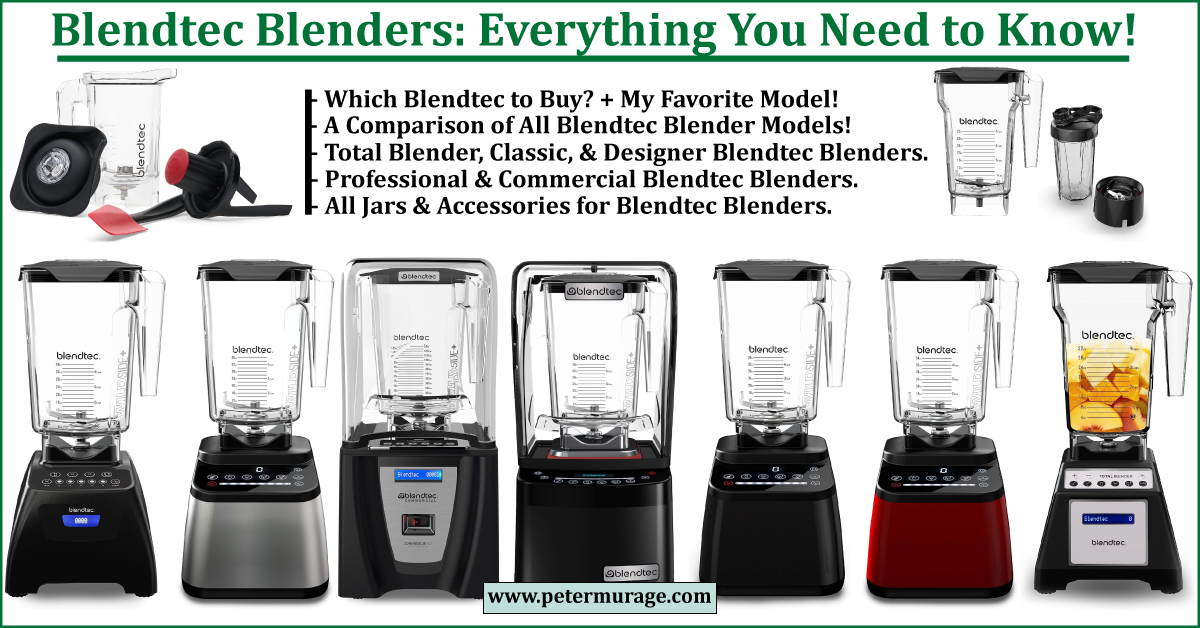
Blendtec Blenders Review: Comparison + 3 Best Deals 2024
Blendtec is the undisputed manufacturer of high-powered, commercial-grade blenders for households and commercial use. In fact, the premium Vitamix Propel 750 and Professional 750 cannot match the Blendtec Designer 650 S on motor power and overall blending performance. But Vitamix blenders outshine the powerful Blendtec machines in versatility due to its large pool of compatible … Read more
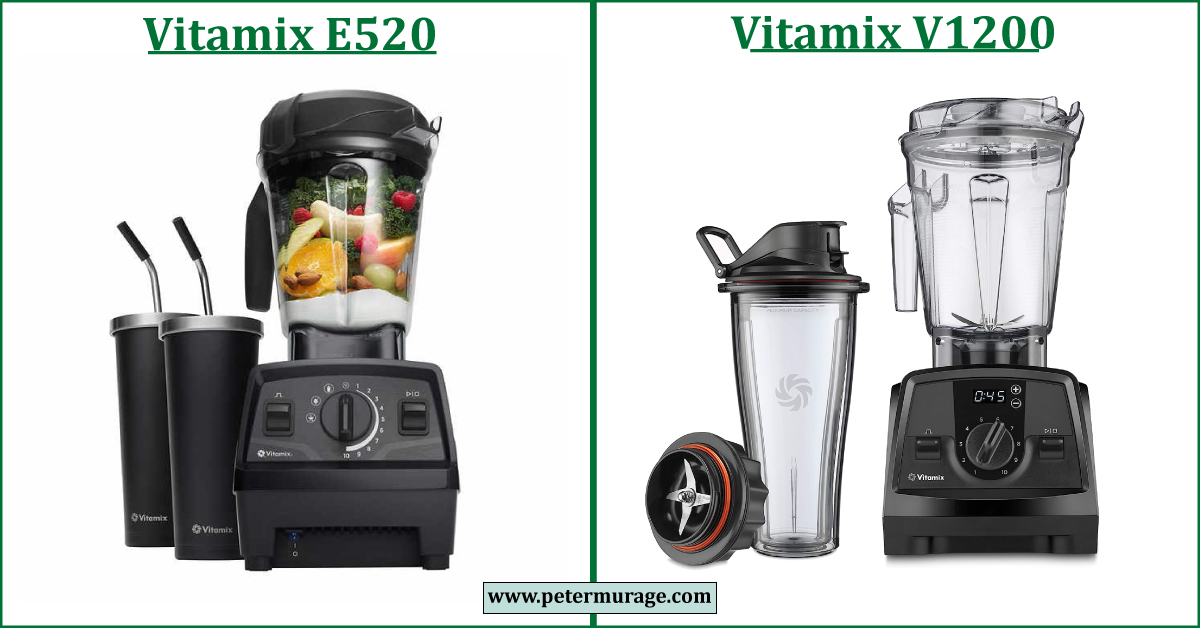
Vitamix E520 vs V1200: Comparison + Best Deals in 2024
Vitamix E520 and V1200 are Costco-exclusive models, but they are now available on Amazon as Renewed Premium Vitamix blenders at affordable prices! The V1200 is a Venturist Series Vitamix that shares the same features, containers, and accessories as the Ascent Series blenders, like the Vitamix A2500. V1200 has a 2.2-HP motor, a programmable timer, built-in … Read more

10 Best Refurbished Dell Latitude Laptops Deals in 2024
Like the Lenovo ThinkPad, the Dell Latitude is a business-class laptop lineup with sturdy build quality and high-end features for long-lasting performance. New and refurbished Dell Latitude laptops come in four lineups: 3xxx, 5xxx, 7xxx, and 9xxx series. Each series has different models, trims, and configurations! The Dell Latitude 7xxx series features premium ultrabooks with … Read more

Payhip Review: Everything You Need to Know in 2024
Payhip is an all-in-one e-commerce platform that allows anyone to sell digital downloads, courses, memberships, and more and get paid instantly! Its sleek, intuitive user interface and drag-and-drop store builder make it easy to build your storefront, create your products, and start selling. Over 130,000 driven creators sell through Payhip, including independent authors, artists, educators, … Read more

10 Best Gumroad Alternatives With Zero Fees in 2024
Gumroad is one of the most popular all-in-one e-commerce platforms for selling digital products, memberships, subscriptions, and more. Its easy-to-use but powerful interface made it earn the trust of most creators, artists, and internet entrepreneurs. But on January 31, 2023, they raised their fees to 10%, meaning that when you sell $100,000, Gumroad TAKES $10,000, … Read more
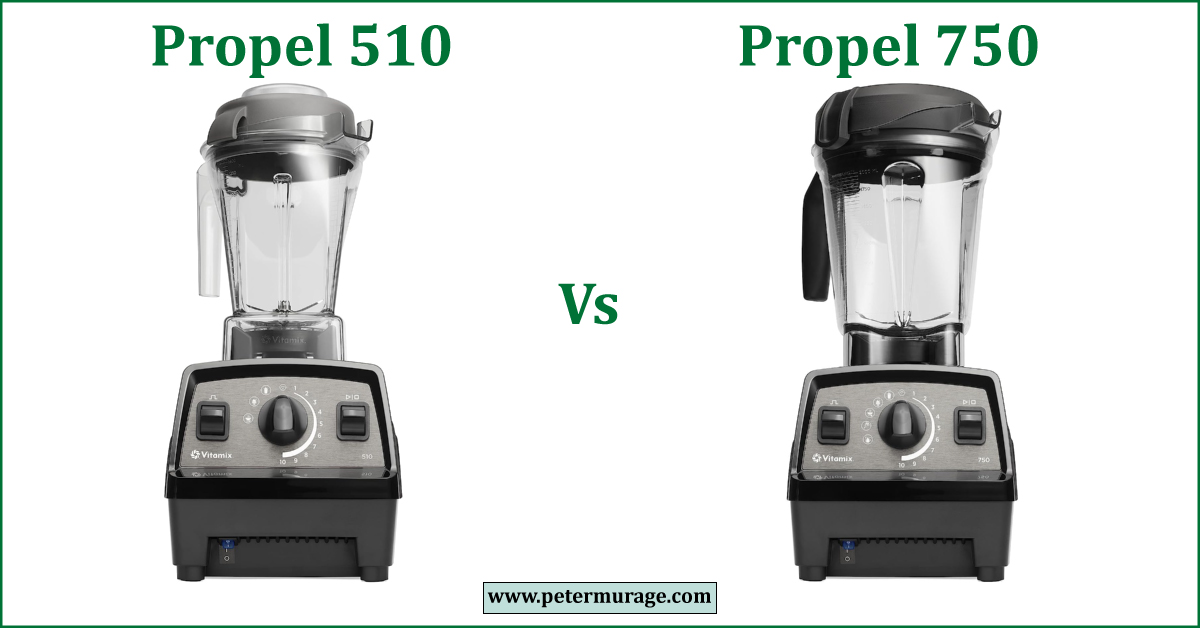
Vitamix Propel 510 vs 750: Comparison + Best Deals 2024
On February 24, 2023, Vitamix launched its Propel Series blender platform with two new models, the Vitamix Propel 510 and Propel 750. They are almost identical, with slight specs, controls, container size, and warranty differences. Propel 510 has a 48-oz, while Propel 750 has a 64-oz container! Their build design resembles a refreshed version of … Read more

Vitamix 5200 Container Replacement + Compatibility 2024
Vitamix containers are not interchangeable or compatible with all the Vitamix blender models in circulation as of this day! Vitamix has different container designs and sizes to suit its different blender platforms and models for different blending needs. For example, the 64-oz Vitamix 5200 container differs from the Vitamix Propel 750 64-oz low-profile container and … Read more

11 Best Linktree Alternatives for Link in Bio in 2024
Linktree is one of the most powerful link in bio tools that perfectly does the job it promises to do! Such that it’s trusted by the world’s biggest brands and influencers, like HBO and Selena Gomez, and has over 30 million users. But at €22 per month for the premium plan, Linktree is quite overpriced … Read more
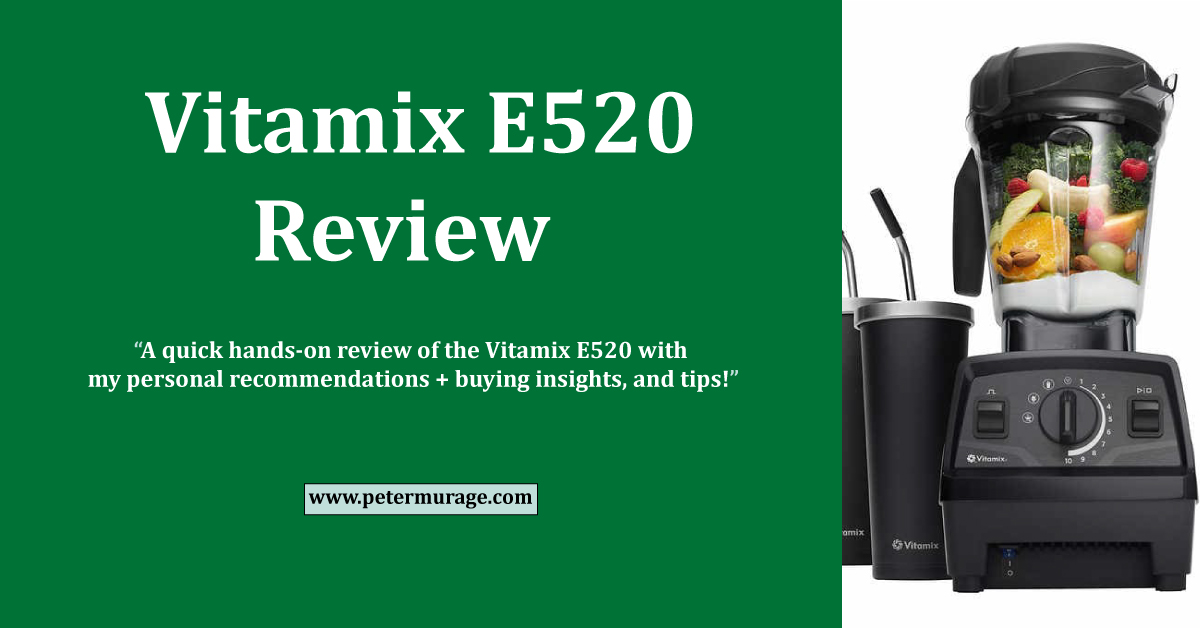
Vitamix E520 Review: Everything You Need to Know in 2024
Vitamix recently released the E520 as a Costco-exclusive model with a 64-oz low-profile container and two reusable 24-oz chilly tumblers with steel straws. The Vitamix E520 is an Explorian Series model with a powerful 2-HP motor. It has the same motor power as the Vitamix 5200 and the inexpensive Vitamix E310. The unique feature of … Read more
6 Ways to Fix GPU Turns On, But No Display [Updated 2024]
You recently got a new GPU to upgrade your gaming PC, and you couldn’t wait to try the new rig with improved graphics performance! But you’re getting a no display after installing it and booting up the system. Yet, the fans are spinning, and all the LEDs, including the peripherals, are lit! You try restarting … Read more
10 Best Refurbished Laptops Deals in 2024 [Handpicked]
I bought a refurbished Lenovo ThinkPad X1 Carbon with Intel Core i5, 8GB RAM, and 256GB SSD in 2019, and it’s the best laptop I’ve ever owned. It came with no cosmetic damage. The body was pretty much indistinguishable from brand new. The laptop itself performs exceptionally well. Yet, I got it for only $425. … Read more

30 Best TikTok Content Ideas Without Showing Face for 2024
TikTok is the king of short-videos social media. It boasts a whopping 1 billion monthly active user base worldwide, with over 138 million coming from the US alone. Yet, the number keeps growing by the day! That explains why some Gen Z’s like Addison Rae and millennials like Kat Norton are becoming famous and making … Read more
10 Best Phones for TikTok + Best Deals in 2024
The first step to making viral TikTok videos is investing in a high-quality smartphone. It should have a great camera with good low-light performance for crystal-clear, eye-catching videos. Usually, this means getting flagship phones like the iPhone 14 Pro Max, Samsung Galaxy S22 Ultra, and Google Pixel 7 Pro. These phones are designed with innovative … Read more
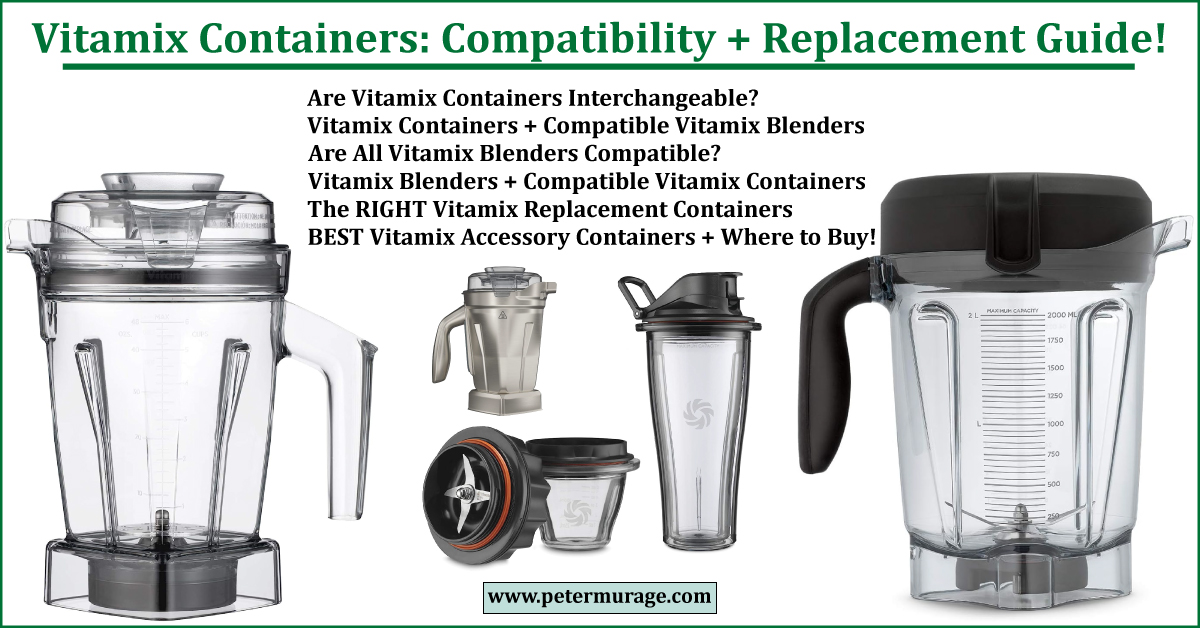
Vitamix Containers: Compatibility + Replacement Guide 2024
In the past few years, Vitamix has introduced a variety of container sizes and styles to meet different blending needs for its different blender models. While this has made Vitamix such a versatile machine, knowing which containers are compatible with your blender is now more challenging than ever! In this guide, I’ll help you easily … Read more
10 Best Refurbished Lenovo ThinkPad Laptop Deals in 2024
Like the Dell Latitude, the Lenovo ThinkPad is a business-grade laptop with robust build quality for unrivaled durability and high-end features for top-notch performance. ThinkPad laptops are classified into different categories to cater to different types of users. The T Series is Lenovo’s flagship ThinkPad category. T Series laptops are incredibly powerful, highly reliable, and … Read more
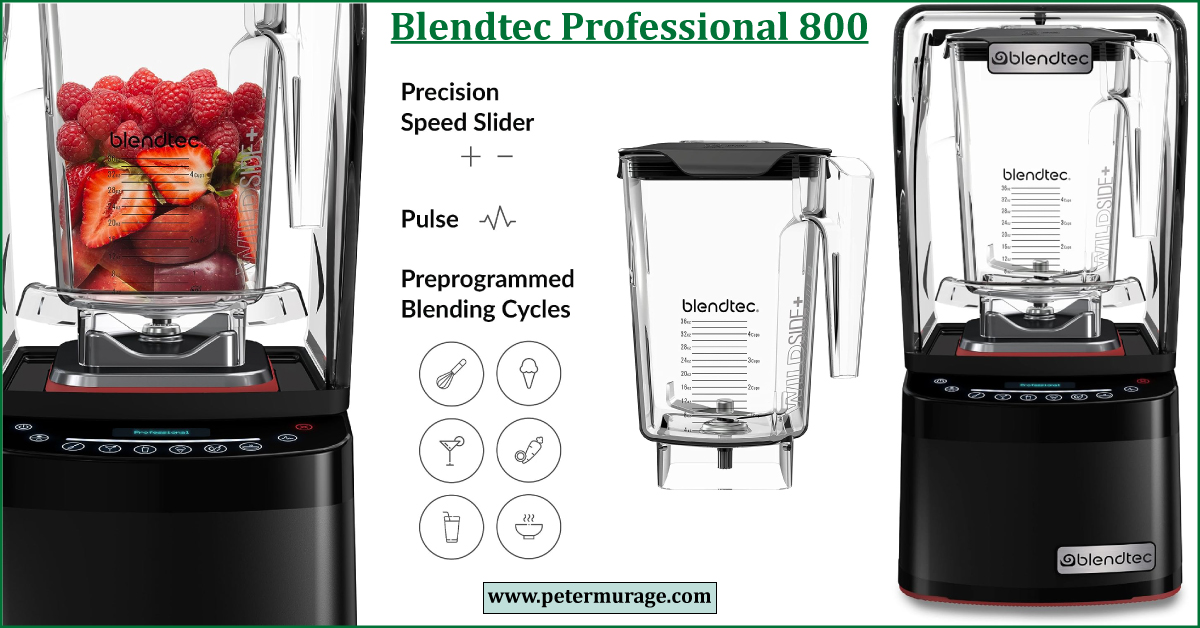
Blendtec Professional 800 Review + Best Deals in 2024
The Blendtec Professional 800 is hands down the world’s best, quietest, and most powerful blender for home use. It has a commercial-grade 1800-watt motor! This incredible power and its advanced blending technology outperform even the best Vitamix blenders, including the Propel Series 750 and Ascent A3500. But the Professional 800 isn’t for everyone! In fact, … Read more

NutriBullet Pro 900 vs 1000: Comparison + Best Deals 2023
NutriBullet is the pioneer of compact personal blenders for making delicious, nutrient-rich single-serve smoothies, shakes, frozen fruits, and smoothie bowls! These little but powerful blenders also blend awesome desserts, crush bar-quality snow-like ice, make smooth nut butter, and grind barista-quality coffee beans! The Pro 900 is the all-time best-selling NutriBullet blender. It has a 900-watt … Read more
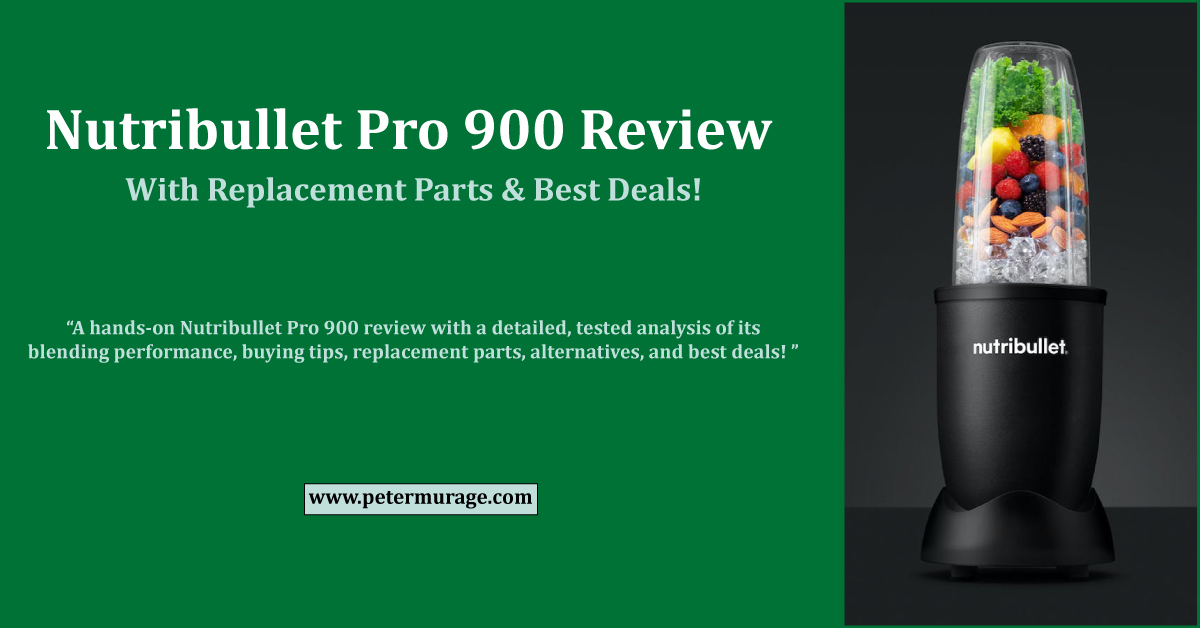
Nutribullet Pro 900 Review + Best Deals in 2023
The NutriBullet Pro 900 is the most popular personal blender worldwide for making single-serve smoothies, shakes, and frozen drinks! It also grinds coffee beans and crushes ice. That might explain why this compact but powerful machine has reigned as the best NutriBullet blender for making on-the-go smoothies and blending frozen fruits for nearly a decade! … Read more
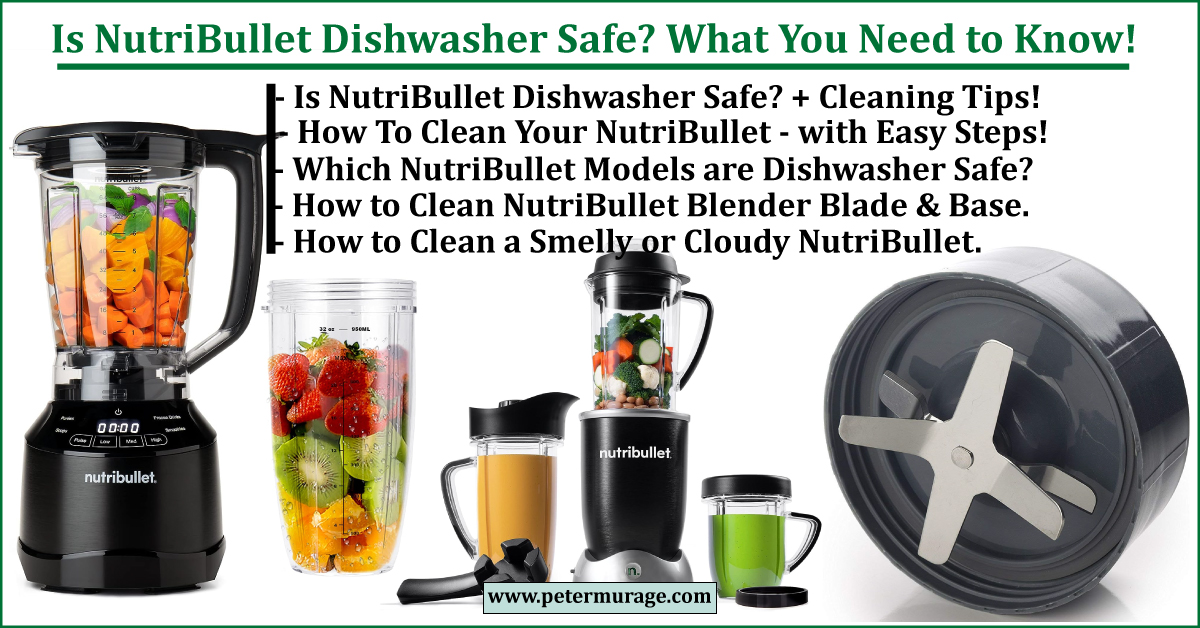
Is Nutribullet Dishwasher Safe? Read This First 2023
NutriBullet is the undisputed best personal blender brand. In fact, the NutriBullet Pro 900 is the most popular and best-selling compact blender for smoothies, shakes, and frozen drinks. If you want to buy an affordable, high-performance, and durable personal blender, click here to check out this updated guide on which NutriBullet is best with the … Read more
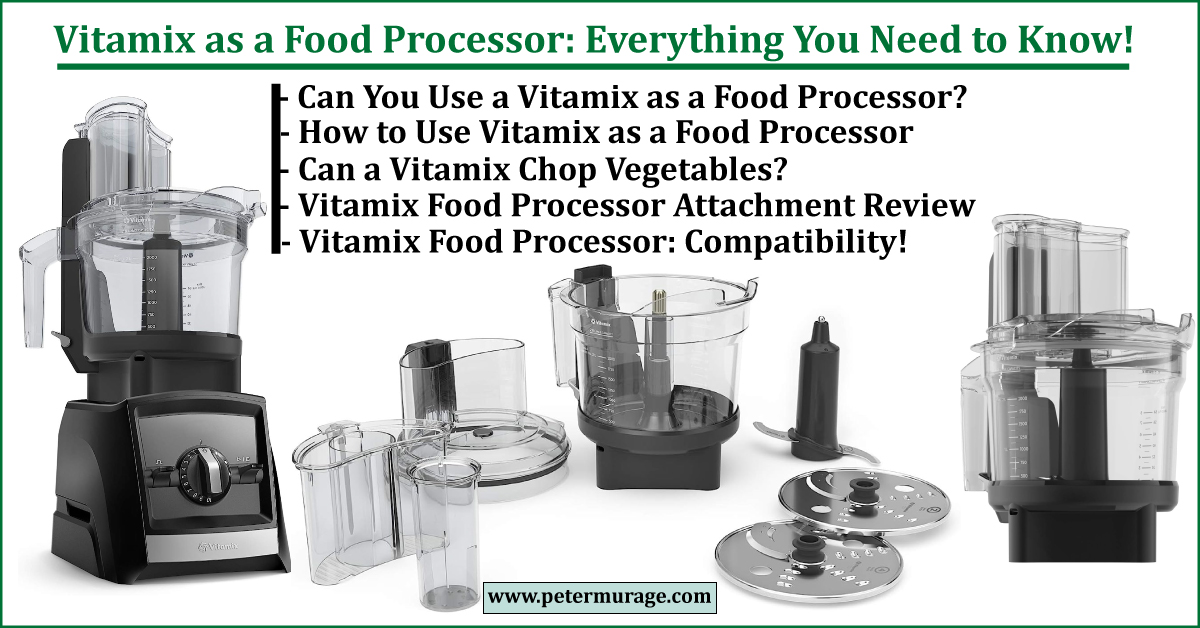
How to Use Vitamix Food Processor + Best Deals in 2023
The Vitamix is an incredibly powerful machine that pulverizes whole food ingredients into silky-smooth consistency and textures. It does some food processing! All Vitamix blenders come with a wet container with a hardened stainless steel wet blade assembly that can chop, crush ice, puree, grind, emulsify, knead dough, and heat soups. But you can separately … Read more
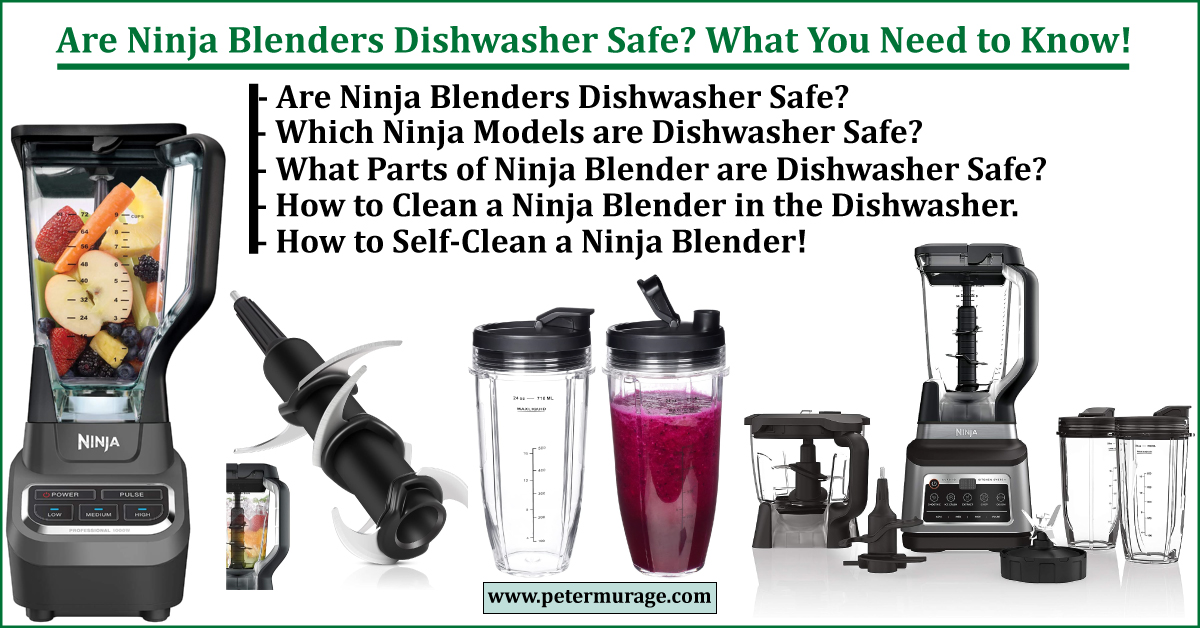
Are Ninja Blenders Dishwasher Safe? Read This First 2023
The Ninja kitchen appliances brand is known for its extremely powerful, versatile, and durable blenders that come at great value pricing! If you want to buy an affordable blender, check out this comprehensive guide for the best Ninja blenders with discounted deals for 2023. But if you already have one, you probably wonder if Ninja … Read more
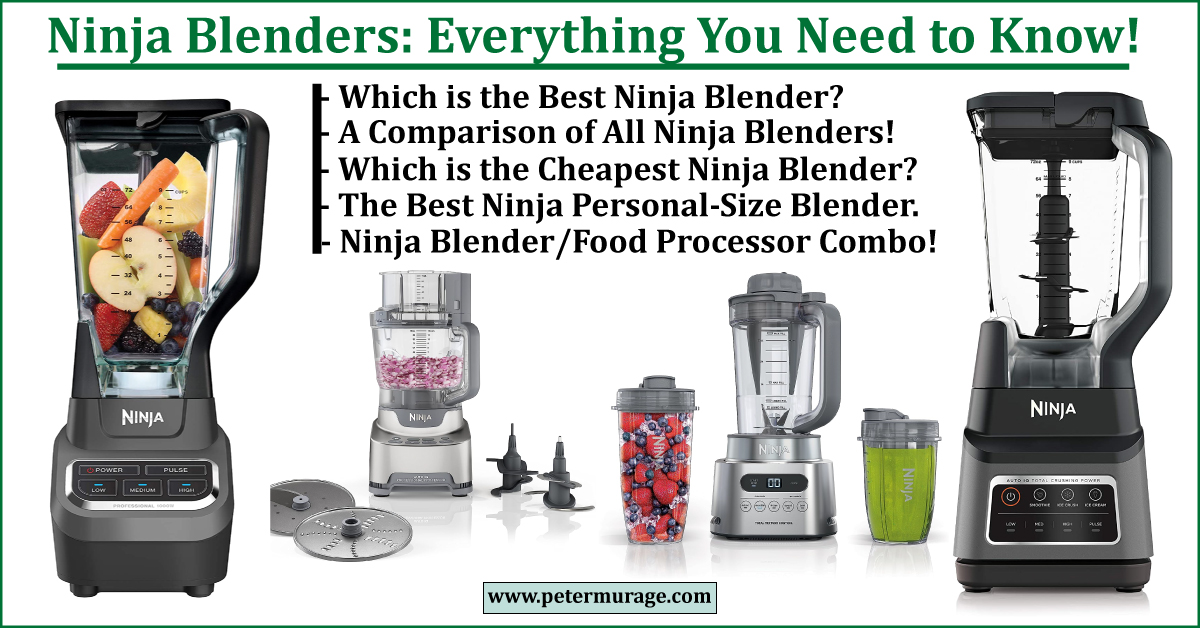
10 Best Ninja Blenders: Buying Guide + Deals in 2023
Unlike the Vitamix blender series and model lineups, Ninja lacks a straightforward method for classifying its blenders and food processors. This complicates choosing the best Ninja blender for all your needs since some of its blenders look nearly identical yet sell under different names and prices. I took the time to analyze all the Ninja … Read more
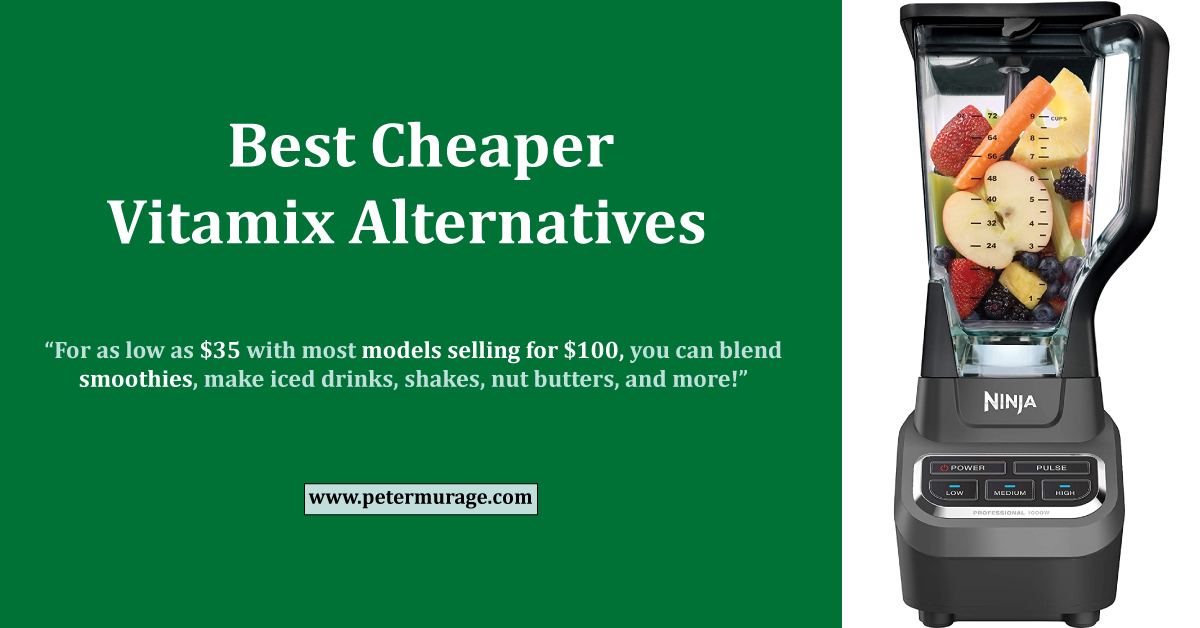
10 Best Vitamix Alternatives + Cheaper Deals in 2023
Vitamix is the benchmark for high-performance blenders. Their blender models are reliable, powerful, and durable enough to last over a decade! Yet, their hefty price tag puts them out of the league for most people who want a reliable but affordable blender for smoothies and quick meal preps. This guide has a roundup of the … Read more
Vitamix A2300 vs A3300: Comparison + Best Deals in 2023
Vitamix Ascent Series platform features four smart system blenders with built-in wireless SELF-DETECT technology and Bluetooth connectivity! All Ascent Series blenders have a premium build quality with a powerful 2.2-horsepower motor for long-lasting, high-performance blending. As such, any blender you pick between the Vitamix A2300 vs A3300 will still deliver exceptionally consistent blending results with … Read more
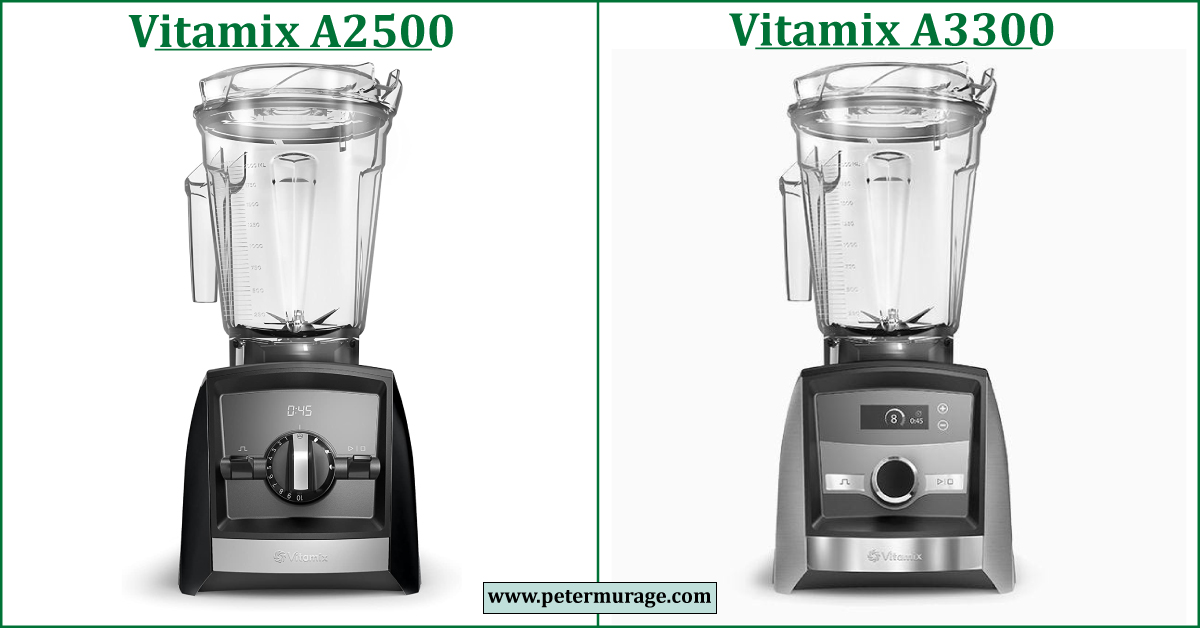
Vitamix A2500 vs A3300: Comparison + Best Deals in 2023
Vitamix A2500 and A3300 belong to the Ascent Series platform, a smart system blender lineup with built-in wireless technology and Bluetooth. Despite noticeable differences in their overall exterior build designs and control settings, both have a robust build quality with a powerful 2.2-horsepower motor. In fact, they cost the same and come with the Vitamix … Read more
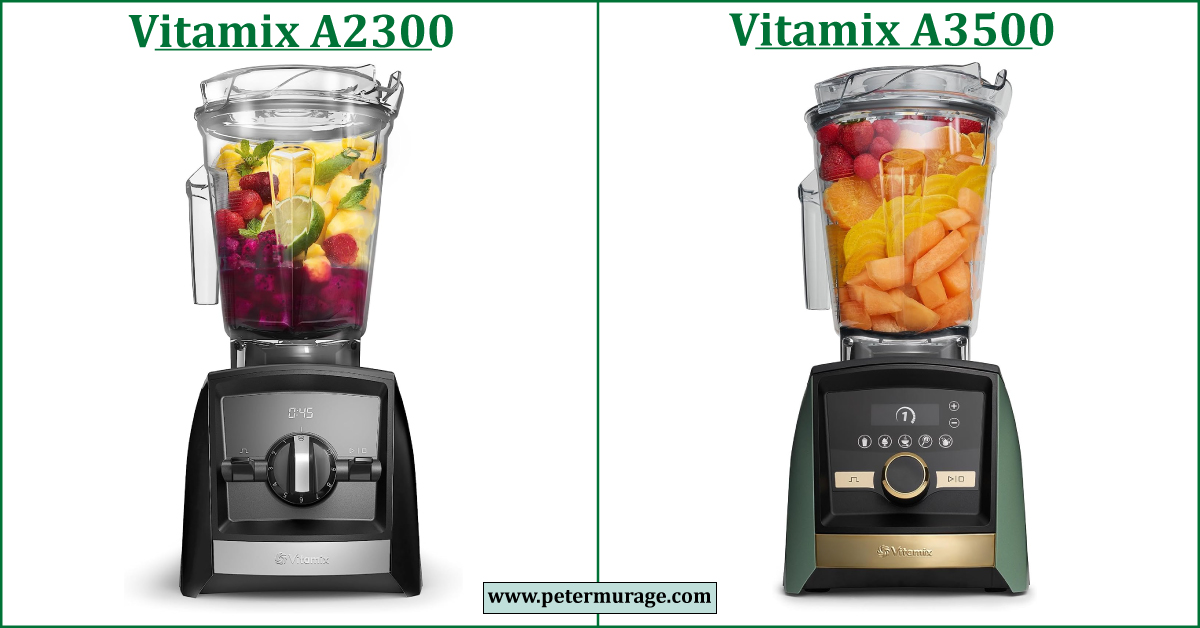
Vitamix A2300 vs A3500: Comparison + Best Deals in 2023
The Vitamix A2300 is the most affordable Ascent Series blender, while the A3500 is the top-of-the-line model of the platform. Yet, both blenders have a premium build quality with a powerful 2.2-horsepower motor for a reliable and durable blending performance. Both have built-in wireless SELF-DETECT technology and Bluetooth connectivity. They come with a large 64-oz … Read more
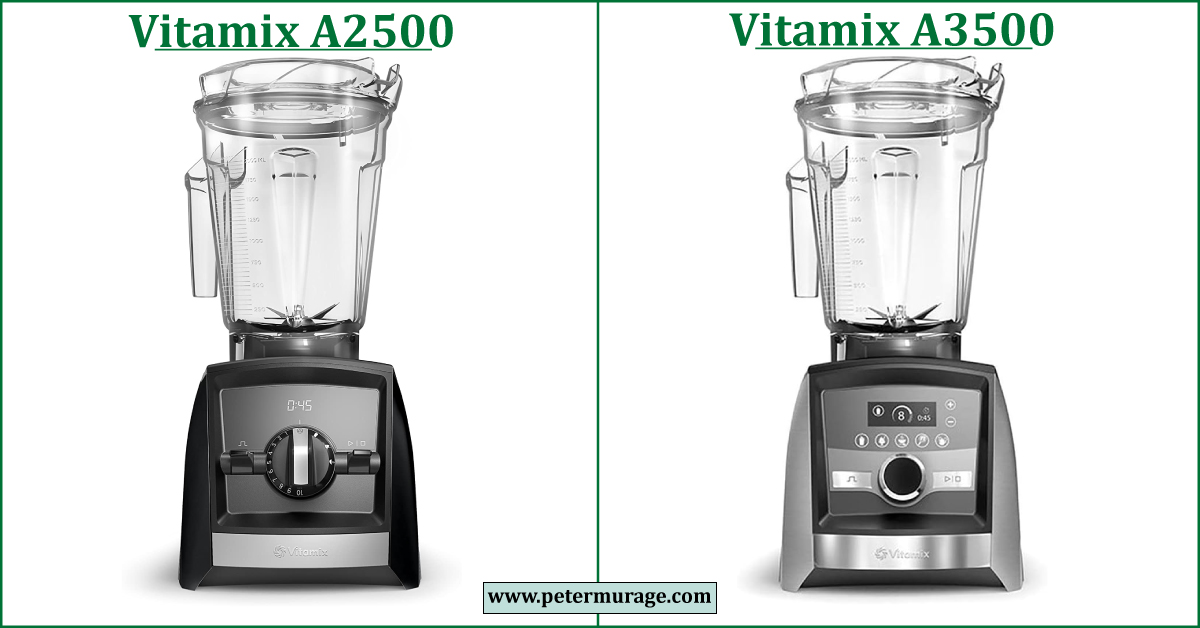
Vitamix A2500 vs A3500: Comparison + Best Deals in 2023
The Vitamix A2500 and A3500 have built-in convenient blending programs lacking in the two other Ascent Series blenders, the inexpensive Vitamix A2300 and the A3300. A2500 has three programs for Smoothies, Hot Soups, and Frozen Desserts, while A3500 has five, these three plus Dips & Spreads and Self-Cleaning. Although their overall exterior build designs and … Read more
Vitamix A3300 vs A3500: Comparison + Best Deals in 2023
Ascent Series is a high-end Vitamix platform featuring four blender models with a premium build quality for high-performance blending and durability. All have a powerful 2.2-horsepower motor that can blend the toughest ingredients and pulverize the tiniest seeds to smooth consistencies and textures. Vitamix also calls them smart system blenders, featuring built-in digital timers, wireless … Read more
Vitamix A2300 vs A2500: Comparison + Best Deals in 2023
The Ascent Series platform is a lineup of robust-built, high-end Vitamix blenders with premium finishes for high-performance blending and durability! The platform features four blenders with powerful 2.2-HP motors, a digital timer, built-in SELF-DETECT technology, and Bluetooth connectivity. Vitamix A2300 and A2500 are two of the four Ascent Series blenders. The two have the same … Read more
Vitamix 7500 vs 5300: Comparison + Best Deals in 2023
Vitamix 7500 and 5300 have similar specs, including a 2.2-HP motor, variable speed control knob with a pulse switch, and a 64-oz low-profile container. Yet, they aren’t identical, nor do their motor bases have the same build quality! But both are high-performance blenders built for multi-purpose use and long-lasting blending operation. The Vitamix 5300 was … Read more
Vitamix E320 vs 7500: Comparison + Best Deals in 2023
Do you want the cheapest Vitamix deal with a reliable blending performance, or are you willing to pay more for a premium build quality? It’s the answer to choosing between Vitamix E320 and 7500. Both are excellent blenders built for high-performance blending, versatility, and durability! Both have a powerful 2.2-HP motor, an easy-to-use variable 10-Speed … Read more
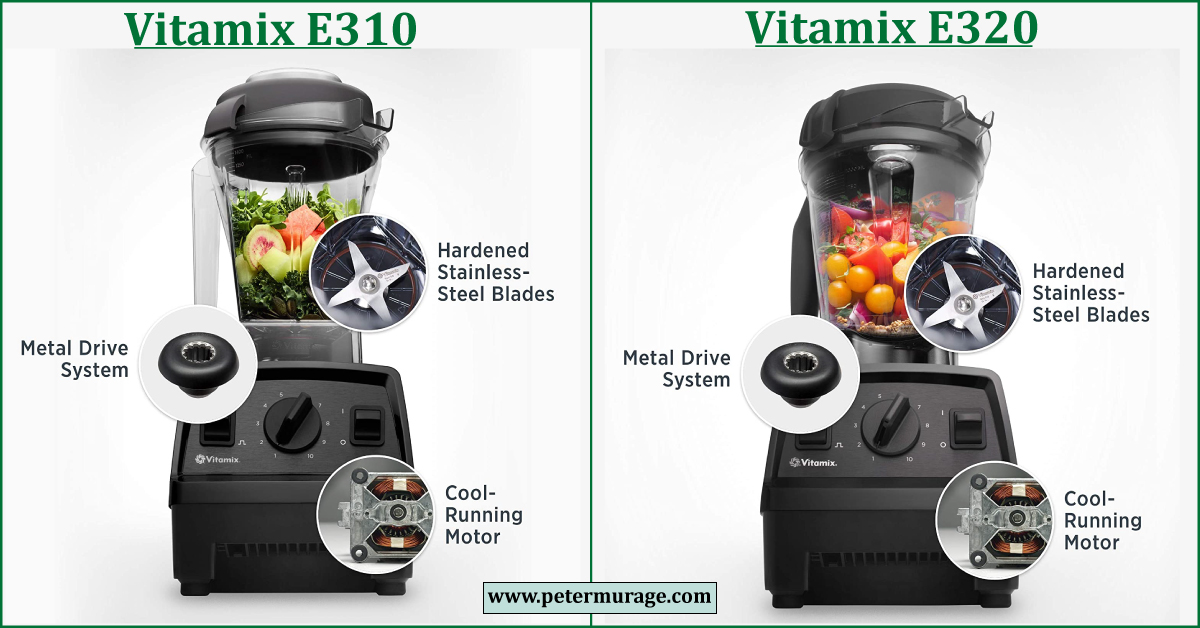
Vitamix E310 vs E320: Comparison + Best Deals in 2023
The Explorian Series platform is Vitamix’s cheapest blenders lineup. They have a basic build quality with a hard plastic body and easy-to-use controls. Vitamix E310 and E320 were the two original Explorian blenders. But a new model, the Vitamix E520, with three blending programs, was recently added to the lineup! The Vitamix E310 features a … Read more
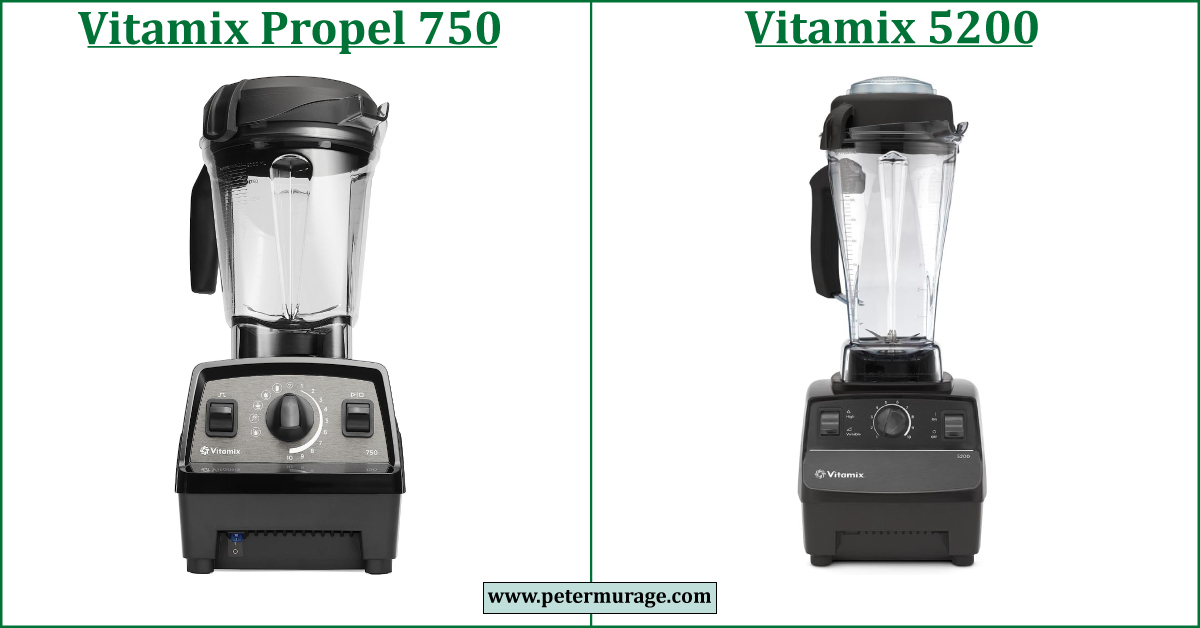
Vitamix Propel 750 vs 5200: Comparison + Best Deals 2023
This Vitamix Propel 750 vs 5200 comparison review is like a recap of the “Professional 750 vs 5200” comparison all over again, but a decade later! For A Quick TL;DR: I would pick the newly introduced Propel 750 anytime for its premium build quality, 2.2-HP motor, and five blending programs. The Propel 750 is built … Read more
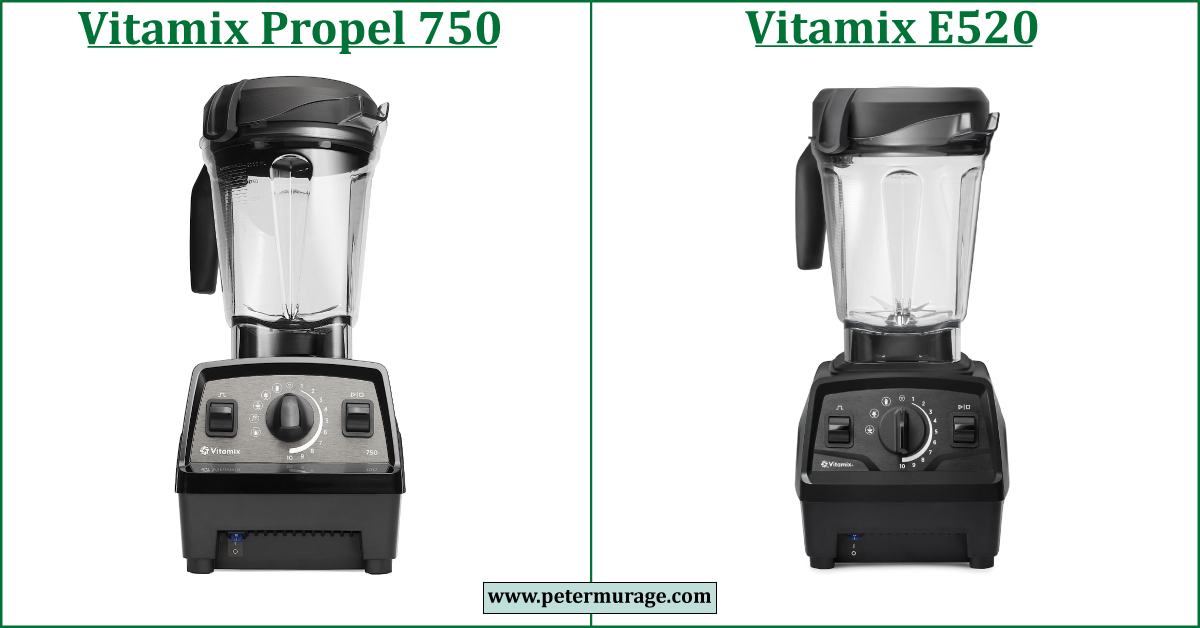
Vitamix Propel 750 vs E520: Comparison + Best Deals 2023
The Vitamix Propel 750 and E520 are the latest additions to the ever-growing lineup of full-size Vitamix blenders. Propel 750 belongs to the new Propel Series platform, along with Propel 510. Both look like refreshed versions of the Vitamix Professional 750. The Vitamix Propel 750 is a high-quality blender with a 2.2-HP motor, easy-to-use controls … Read more

Vitamix Propel 750 vs 7500: Comparison + Best Deals 2023
The introduction of the Vitamix Propel 750 into the ever-growing lineup of Vitamix blenders looks like a subtle move to discontinue the iconic Vitamix Professional 750. The Professional 750, also known as Pro 750 or Vitamix 750, came out in 2011, along with the 7500. Both belong to the Next-Generation, Classic G-Series platform. Professional 750 … Read more
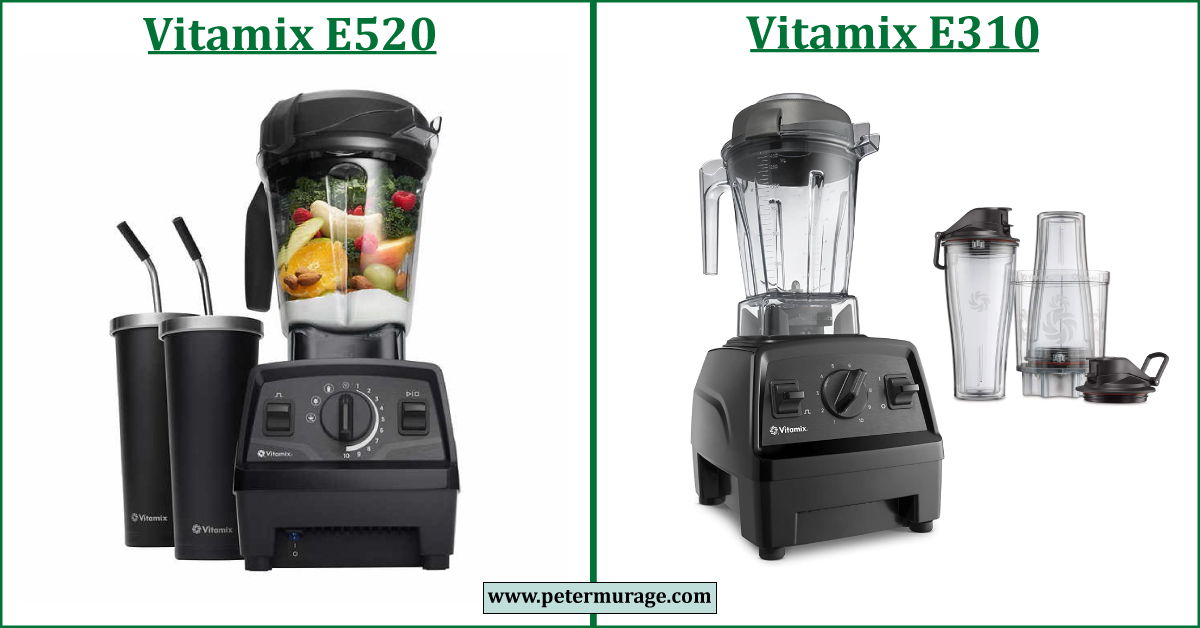
Vitamix E520 vs E310: Comparison + Best Deals in 2023
Vitamix E520 and E310 are Explorian Series blenders, the Vitamix platform where the inexpensive E320 Renewed Premium belongs! The E310 came out in 2017 together with the Vitamix E320! E310 is the cheapest Vitamix blender when you compare the prices of all brand-new Vitamix models. It has a basic build quality with a 2-HP motor, … Read more
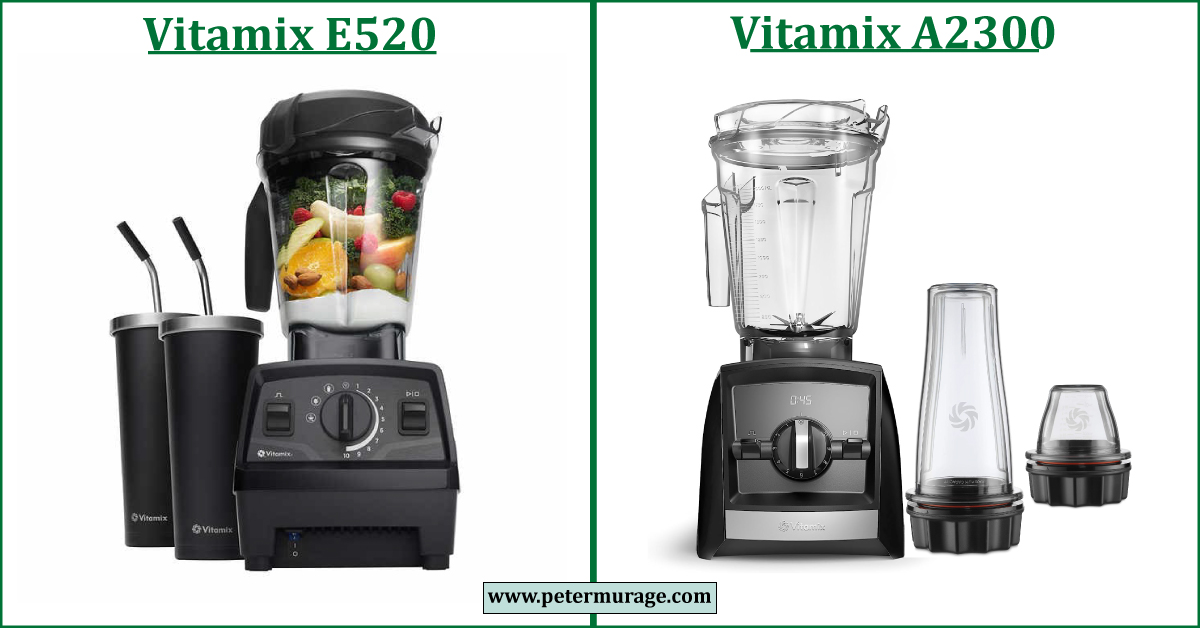
Vitamix E520 vs A2300: Comparison + Best Deals in 2023
The Vitamix A2300 is $50 cheaper than my personal-favorite Vitamix A2500, which belongs to the same Ascent Series platform. The A2300 lacks the three convenient blending programs for Smoothies, Hot Soups, and Frozen Desserts you get with the A2500, just for an extra $50! Conveniently, the Costco-exclusive Vitamix E520 has these three blending programs plus … Read more
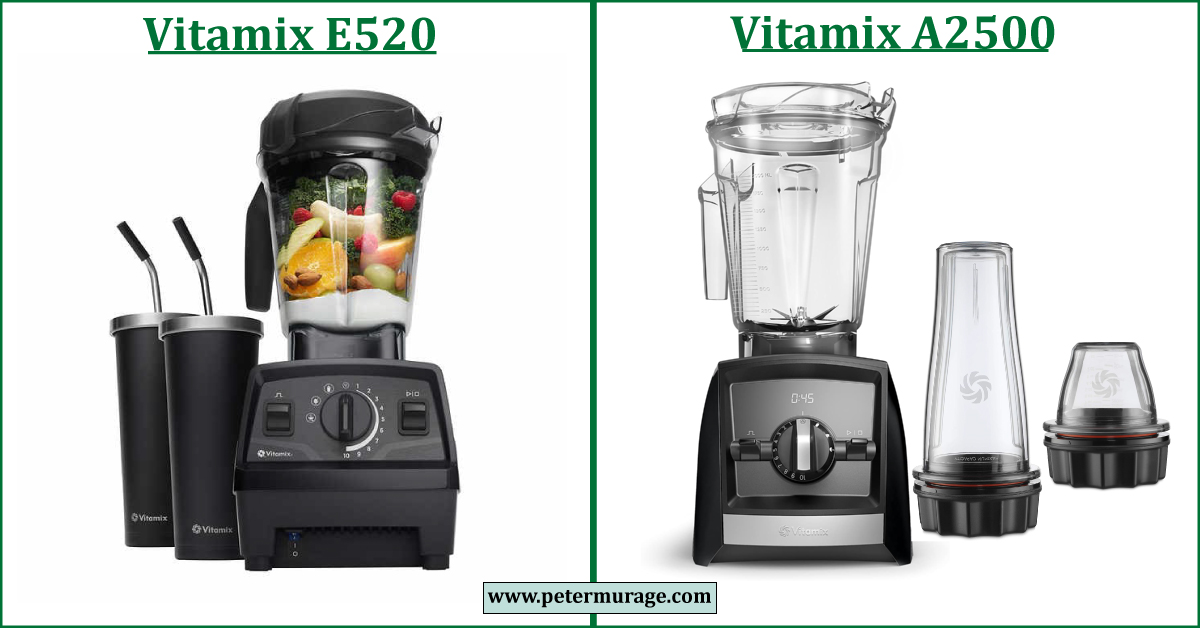
Vitamix E520 vs A2500: Comparison + Best Deals in 2023
The Ascent Series Vitamix A2500 is the perfect alternative to the Costco-exclusive Vitamix E520. They both have three convenient blending programs! The three blending programs for Smoothies, Hot Soup, and Frozen Desserts offer walk-away blending convenience and multi-tasking. Both Vitamix E520 and A2500 are exceptionally easy to use, with a variable speed control knob for … Read more
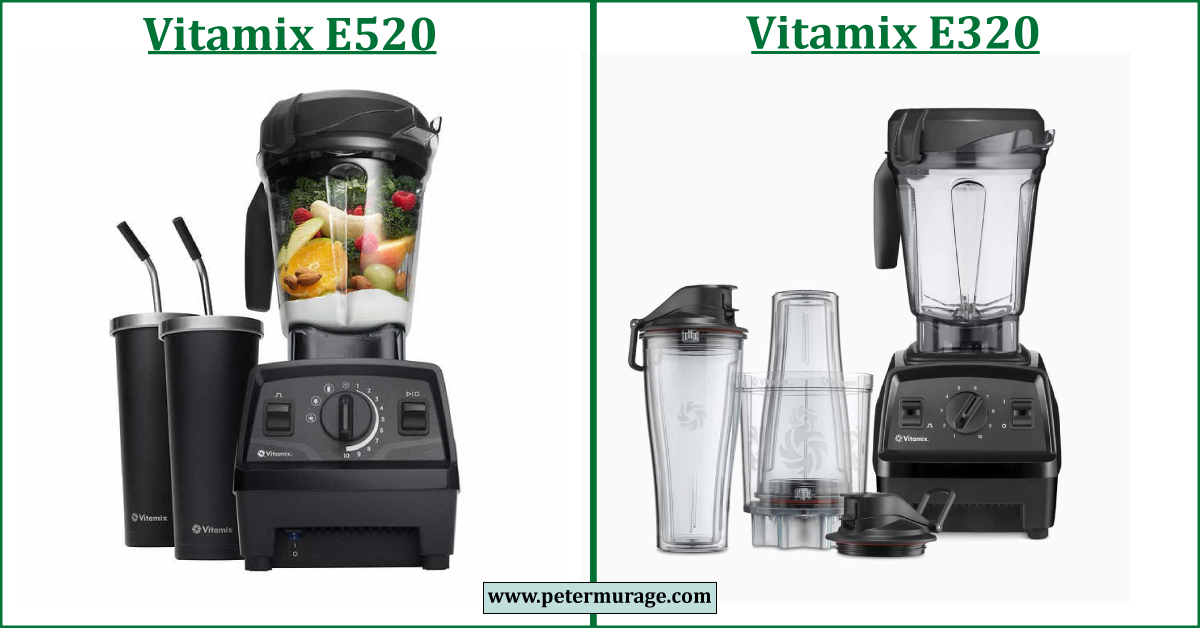
Vitamix E520 vs E320: Comparison + Best Deals in 2023
The Vitamix E520 and E320 belong to the Explorian Series platform, which features blenders with basic build quality and simple controls. Vitamix E320 came out in 2017. It has a 2.2-HP motor, a variable speed control knob, a pulse switch, and a 64-oz low-profile container. The E520 is a Costco-exclusive model released in 2022. It … Read more

How to Install an Operating System on Your Hard Disk in 2023
You have just built a new PC. It’s turning on, so everything went well when assembling the parts. You now need to install an OS to complete the build! In this guide, I will take you through the steps on how to install an operating system on your hard disk and activate it. But you … Read more